 Ever wonder how those animated banner ads you see all over the web are made? If you’ve got Photoshop, read on to learn the steps necessary to make your very own! The GIF format, by the way, is the only file format that allows for animation without having to also do programming (unlike Flash or HTML5, for example.) JPEG is useful for keeping file size down and PNG offers transparency, but neither can be animated. So, let’s get started:
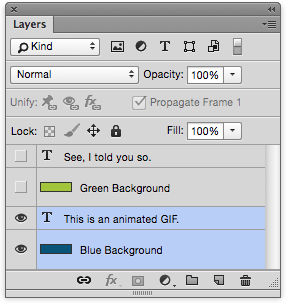
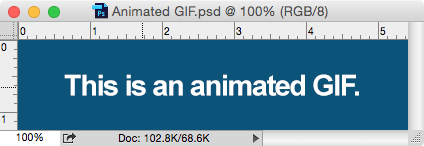
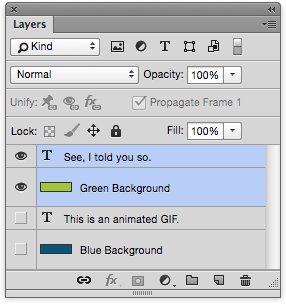
I’m going to assume at this point you know enough about Photoshop to have already created the artwork you’d like to animate. For this example, we’re going to make a two-frame back-and-forth type of animation. Activate the layer(s) you’d like visible at the start of the animation, such as these two:
With those layers turned on, we simply see this:
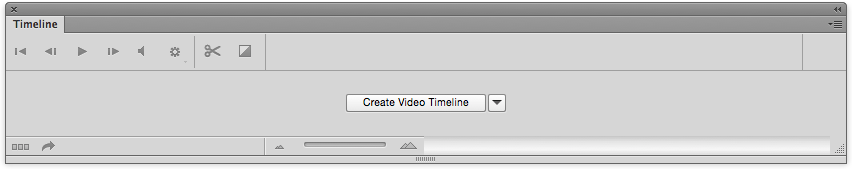
Next, make sure your Timeline panel is visible (Window > Timeline). You should see this:
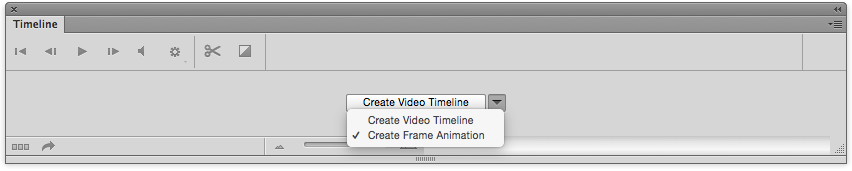
Next, use that pull-down arrow right in the middle of the Timeline panel to switch to Create Frame Animation:
Click on the Create Frame Animation button you’ve just switched to, and the first frame will be added to the Timeline:

Next, click on the little icon that looks like a page at the bottom of the Timeline (which duplicates the selected frame):

With the new frame still selected in the Timeline, switch your layers to what you want visible in the second animation frame (in this example, the other two layers):
The second frame in the Timeline will reflect the change:

Now, select both frames (use the shift key to select multiple frames):

If you didn’t notice in the above screenshot, I also changed the animate “Once” to “Forever” so that the animation would loop endlessly.
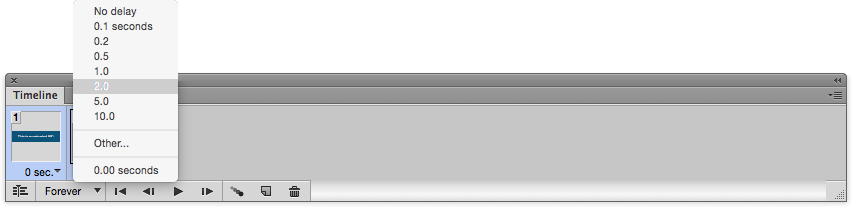
Next, you’ll want the frames to pause after being displayed, or else the GIF will just flip back and forth so seizure-inducingly fast it’ll be illegible. Select either of the pull-downs that say “0 sec.” and change them to a longer time period, such as 2.0 (seconds):
Use the Play, Stop, Rewind and Fast-Forward buttons at the bottom of the Timeline panel to see how your GIF will look when animated, and when you’re happy with the results, do File > Export > Save for Web… to get something like this:
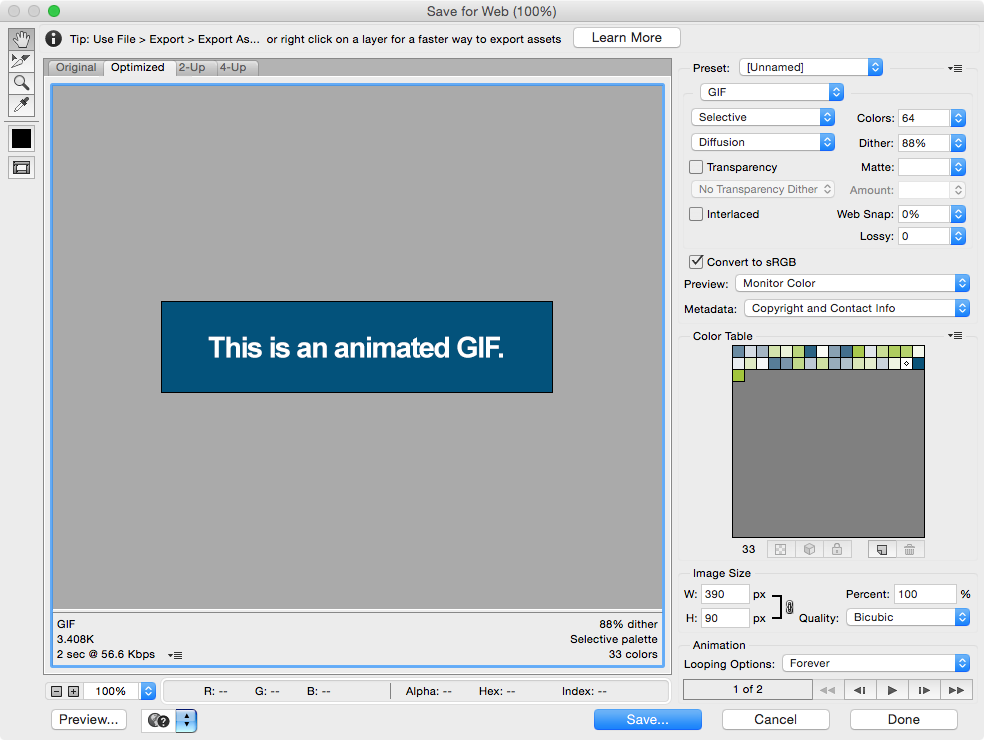
Use the various setting in that dialog box to keep the file size as small as possible while keeping the graphics smooth and not all pixelated, then click Save… to generate your GIF! This example looks like this:

If you want to get all fancy and make the frame transitions smooth, you can use the Tween button at the bottom of the Timeline panel (looks like a little comet; is next to the one that looks like a page; generates the frames in between two selected frames.) Without getting into all the details, the Timeline could look like this (notice how I’ve set the display time for all the in-between frames to zero):

And the results could look like this:

And that’s it for your basic animated GIF. There are a lot of other options – including motion – but because there is usually a file size limitation for banner ads you’d like to submit to publications, this is (more or less) all you need to know!
About The Author