As anybody familiar with simply the name “Photoshop” knows, there are endless ways you can modify an image using Adobe’s flagship application. From little tweaks to major alterations, Photoshop is the go-to program for print and web designers. But because of all the power Photoshop offers you at your fingertips, there are a lot of ways you can really screw up an image as well.
Photoshop has a History panel that is essentially a change-tracker, allowing you to go back a number of steps (default is 20; can be changed in Preferences) but aside from the limit of steps you can go back, if you save and close your file, its change history does not resume the next time you open it. Of course, you can use the old Save As… technique, but Photoshop files tend to be on the larger side so keeping many of them can add up, and who really wants to have different copies, all with various changes you’re testing out or keeping?
There’s a much better way to deal with this, and it solves both the problem of lost or limited history state and the nightmare of having multiple copies of files piling up.
This “non-destructive” solution to manipulating your image is the use of Adjustment layers:
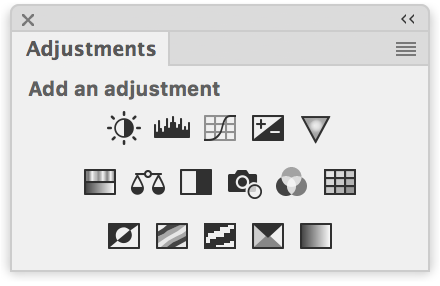
As the name implies, this panel contains the kind of modifications you’d find in the Image > Adjustments menu:
The difference between using one of those Adjustment menu command and the Adjustment layers panel is that, again as the name implies, you’re creating a layer with these adjustments and not making them directly to the image itself.
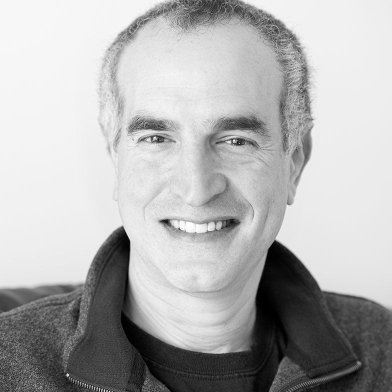
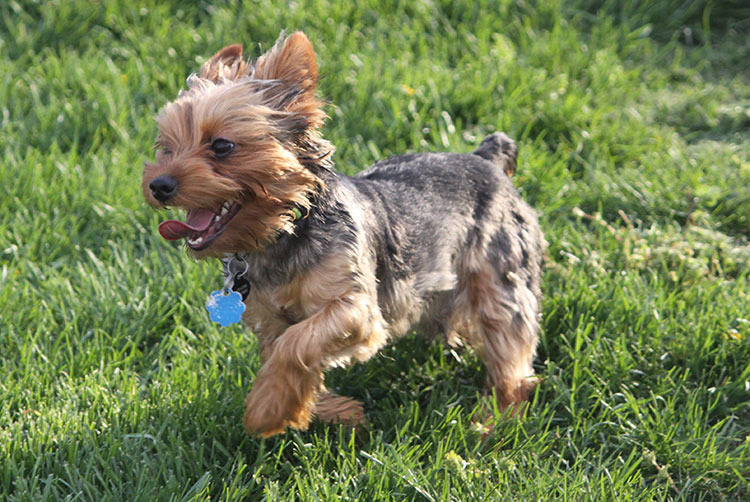
For a few examples, we’ll start with this little guy:
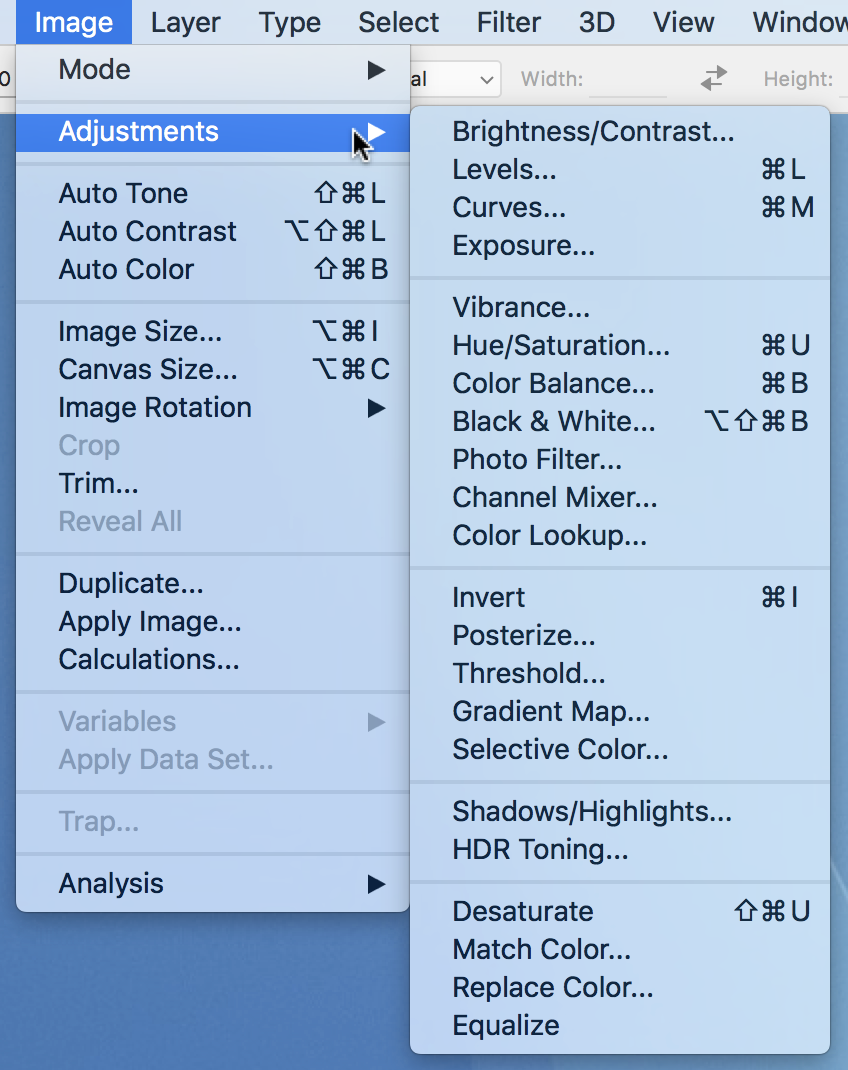
Suppose you want a black & white version. Instead of going directly to Image > Adjustments > Black & White… as shown in the menu screenshot above, you should click on the Black & White button in the Adjustments panel:
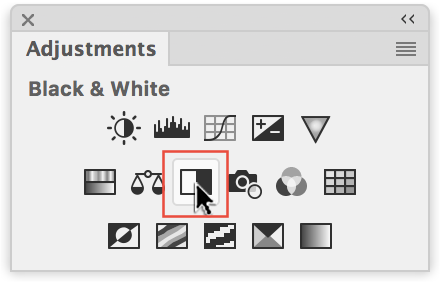
This will create a new “Black & White 1” layer in your image…

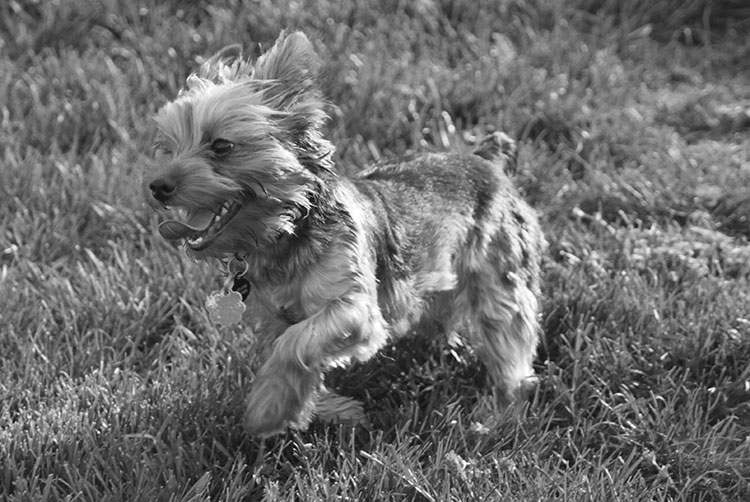
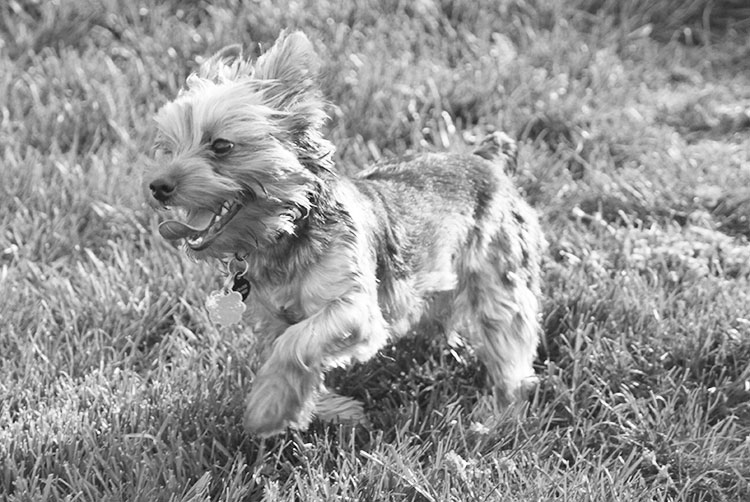
…and the results are immediate:
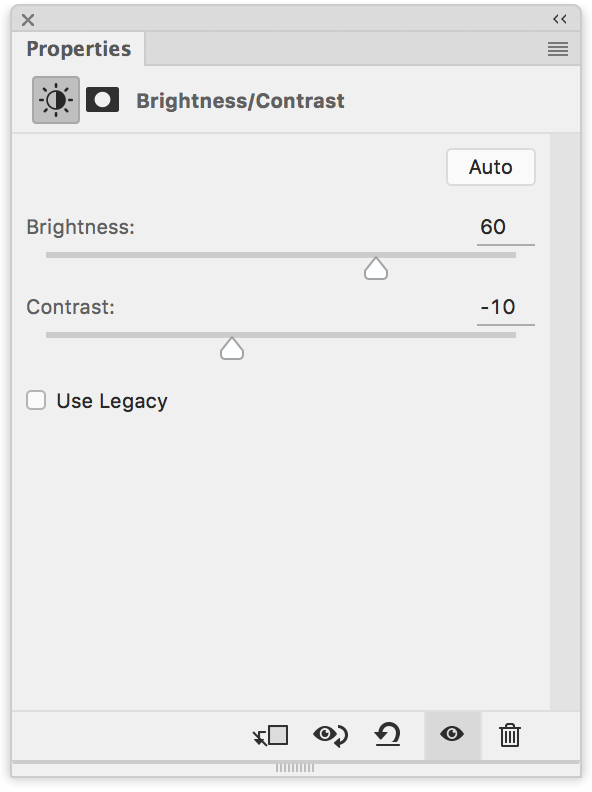
You can then make your tweaks to that adjustment in the Properties panel, which dynamically changes based on which adjustment layer you’re using at the moment:

You can, if you wish, add as many adjustment layers as you’d like, such as Brightness/Contrast:
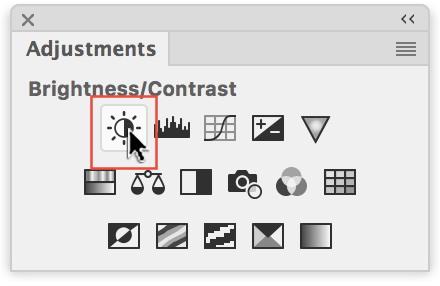
This adds a “Brightness/Contrast 1” layer…
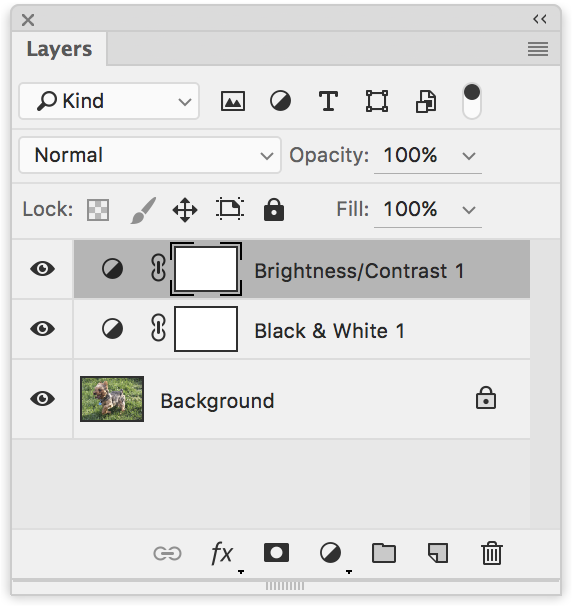
…which is reflected in your image…
…and again can be modified in the dynamic Properties panel:
Like “regular” layers, these Adjustment layers can be turned on and off by clicking the “eye” icon in the layers panel, and their respective adjustment will turn on and off:
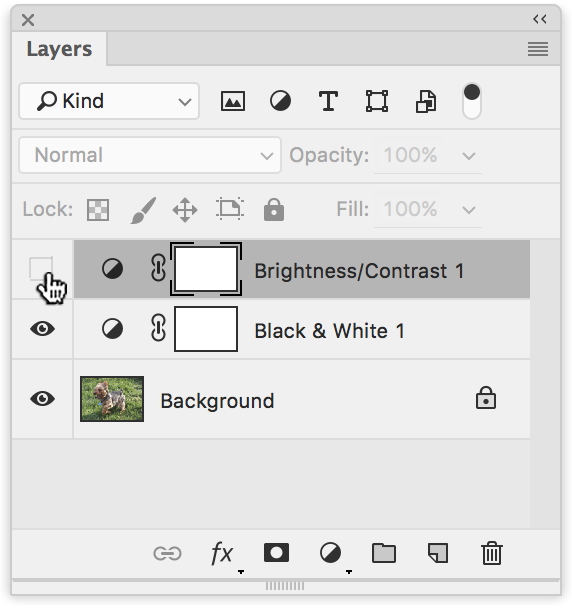
These non-destructive changes to the image, unlike those you might make directly to the image via menu commands, live in their own layers while the original image remains untouched on the Background layer.
About The Author