With its powerful tools and intuitive interface, Adobe XD makes it easy to create stunning designs for websites, social graphics, and more. In this article, we will explore some tips and techniques for working with images inside of the program. The quick tips below will help save you time and enhance your designs so that your audience is more likely to engage and interact with your content!
Placing Images into XD
Bringing images into XD is really easy. There are 2 different ways to accomplish this:
- The first is by heading to the main menu File>Import. This will let you select any image on your computer.
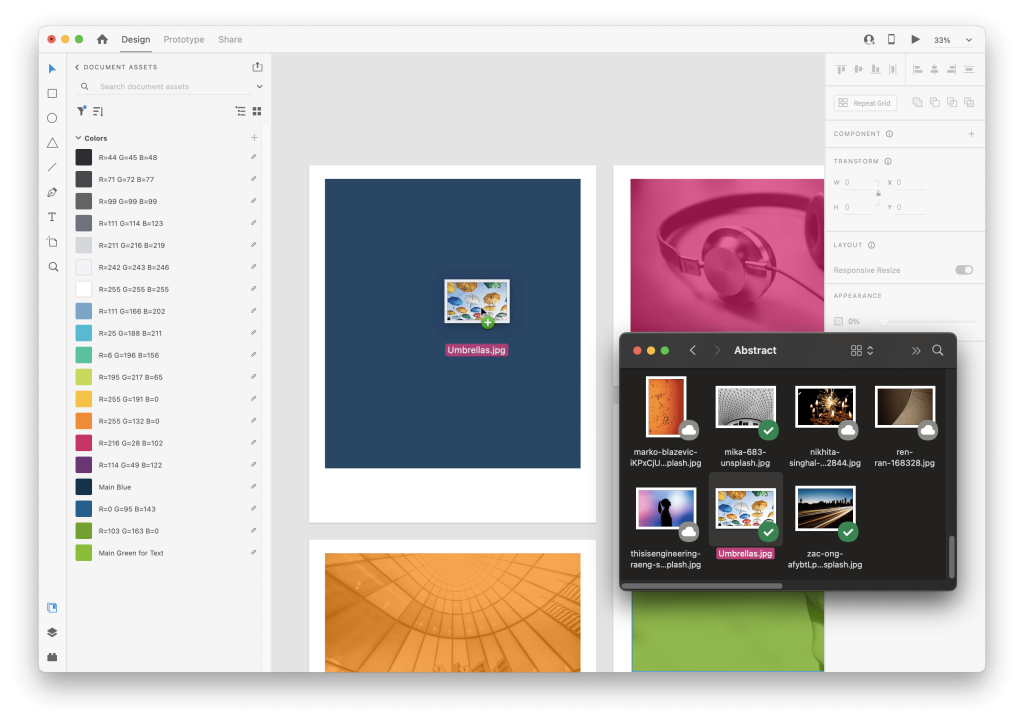
- The second way (shown in the image below) is by simply dragging and dropping images from your desktop right into the canvas. To do this just have the image handy, whether on your desktop or in your files, then drag and drop right into XD.
TIP: You can drag any image over a shape or “frame” like the example above and XD will place it inside the shape automatically. This is extremely helpful if you’re editing an existing design, such as a social graphic template, and need to replace someone’s headshot.
Using Layers to Find Image Names
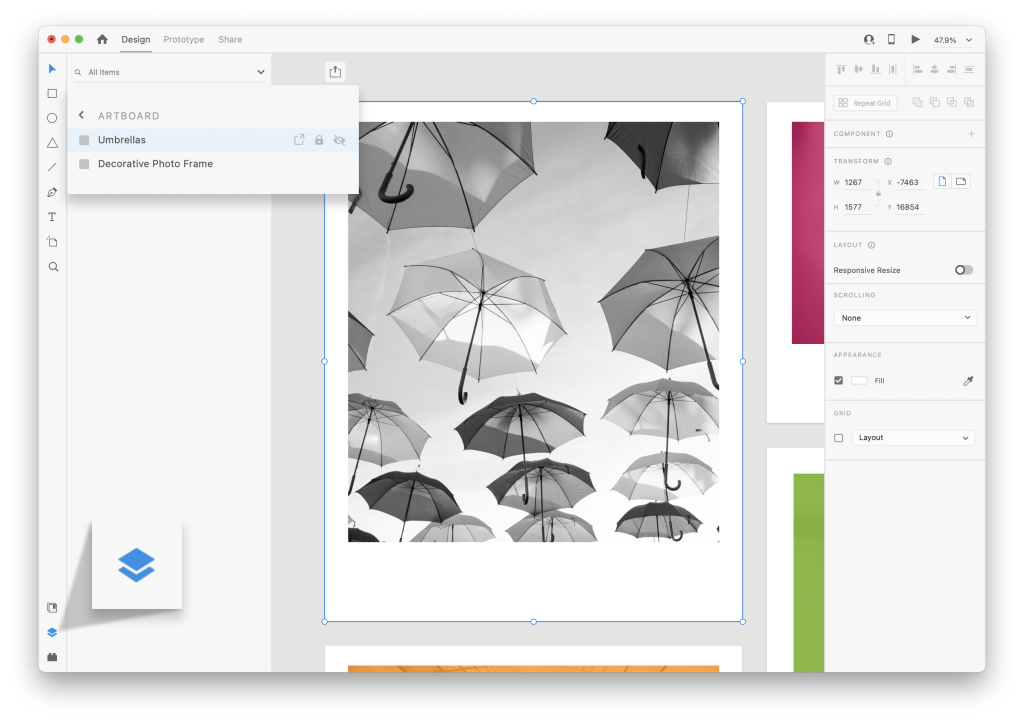
XD Also keeps track of your images in the Layers panel. To use this view go to the layers icon in the bottom left of the window. You will see everything organized first by Artboards. If you click into one of these groupings, you will then see each component listed. Each layer has an icon indicator to tell you if it’s text, shape, or image. Image names will also be located here. In the example above we can see my image that is titled “Umbrellas”. You can double-click the layer to rename it whatever you’d like.
Cropping Images
Need to crop an image? XD makes this really easy too and can prevent squashing or stretching your images. It’s a feature called Mask Editing Mode. To use this feature we must first mask our image. The easiest and fastest way to create a mask is to drag and drop your image onto any shape, just like in the video below. It could be a circle, square, or rectangle like in the video example. This will fill the shape with the image and create a mask over our image. We can now change the shape’s size/dimensions and our image inside will resize proportionately, no matter how we alter the shape.
TIP: Not using a mask? You can always lock an object or image’s size by clicking the lock icon in the right-hand sidebar.
Right-Click to Edit a Photo in Photoshop
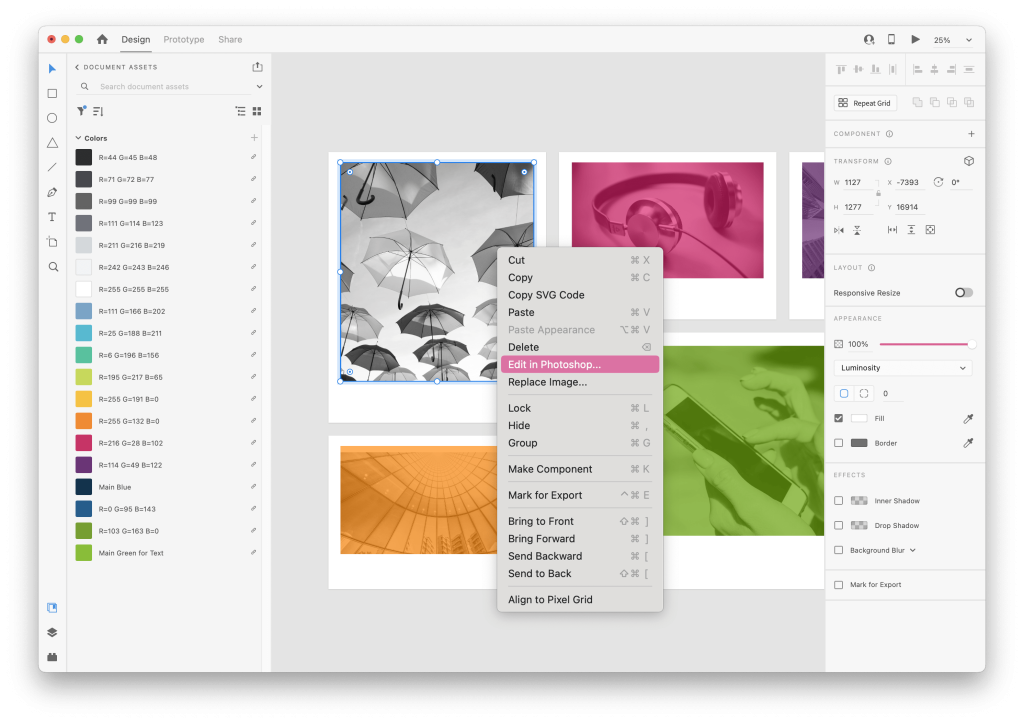
Did you know you can edit photos directly in XD using Photoshop? To do this simply right-click on an image in your file, then select “edit in photoshop”. This will prompt Photoshop to open with your image. From here you can make any edits you’d like. Then when you’re done with edits, save the Photoshop file. Now, this won’t ask you to choose a location to save your file like Photoshop normally would. Instead, after saving the image will now automatically update within XD.
Exporting Images out of XD
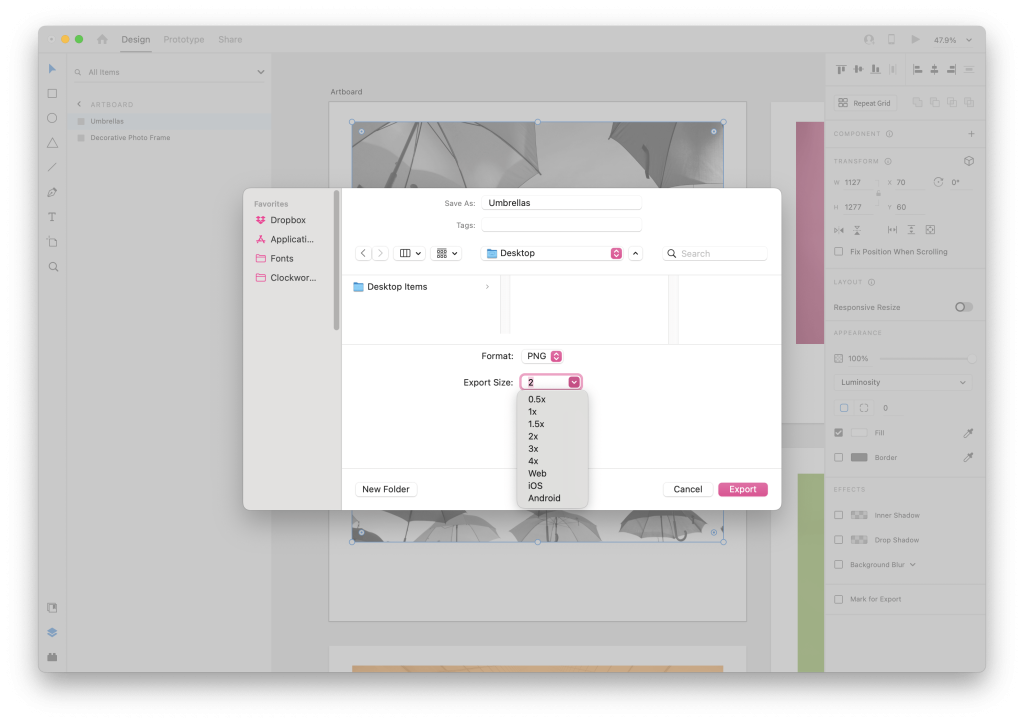
XD also lets you export images, among other assets, to use in other applications. To do this select the image first. Then, head to File>Export>Export Selected (or Command+E). There are a few different file types to choose from when you are exporting. Most often we use PNG or JPG at 2x. You may be asking “Well, what’s the difference between 1x or 2x?” and the answer is that exporting at 1x means a direct export in size. So, a 500px by 500px image will export at exactly those dimensions. Now, at 2x the image would export to 1000px by 1000px, or in other words, two times the set dimensions. This is usually done to make the resolution nice and crisp when viewing it on retina screens.
If you’d like to continue to learn more tech tips, created specifically for professional service firm marketers using Adobe software, subscribe to our blog or follow us on social media!
About The Author