 This one’s just for you Mac users out there. I don’t know if there’s an equivalent in the Windows world, but maybe this will encourage you to consider switching to the superior computer platform! 🙂
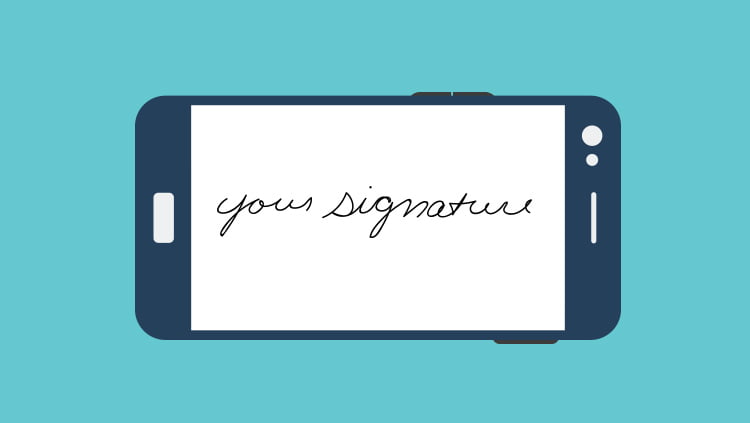
We’ve all been there – you have a PDF and it requires your signature. There are several ways to accomplish this task, a couple being:
- Print the PDF, sign it, scan it back into PDF format
- Scan your signature, save the file, use Adobe Acrobat’s image-placement command (or the crazier signature functions of the latest version of Acrobat)
That’s all well and good, but there’s a much simpler way to do it if you’ve got a Mac with a camera. Here’s how:
Let’s imagine I’ve got a rental agreement PDF like this, and it requires a signature:
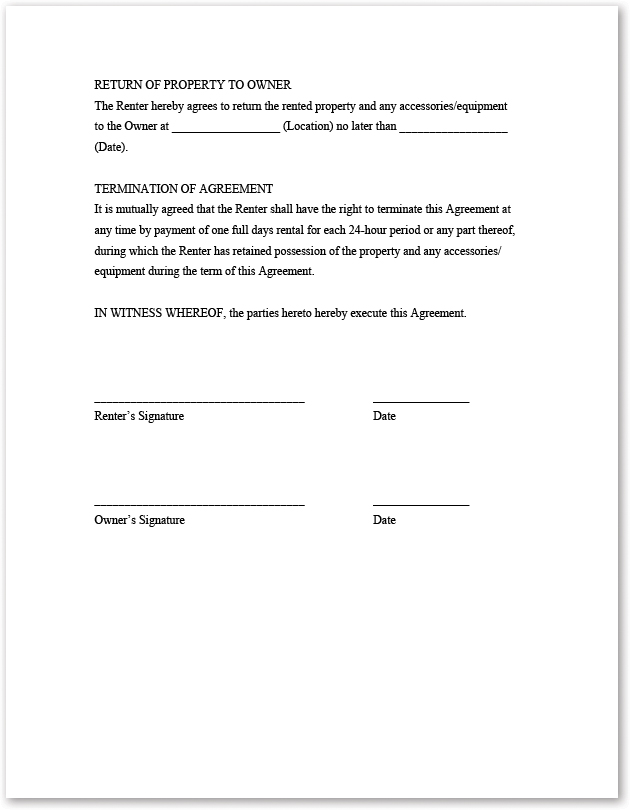
Click to enlarge
First step is to sign your name, preferably on a blank piece of white paper using a pen or marker with black ink. Simple enough – should look like this:
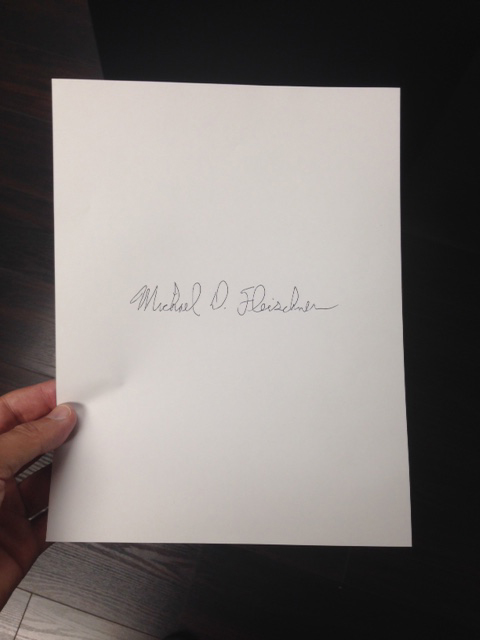
Click to enlarge
Next, open the PDF in question using the built-in Mac application Preview, which has an icon that looks like this:

If your Mac settings don’t automatically use Preview when you double-click a PDF, you can drag the PDF onto Preview in the Dock at the bottom of the screen:

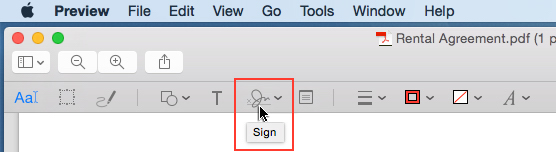
In Preview, click the little toolbox icon in the upper right of the document window to reveal the Markup Toolbar:

Click to enlarge
Now that the Markup Toolbar is visible, click the little icon that looks like a tiny bit of handwriting (the “Sign” tool):
Click to enlarge
Your Mac’s camera should turn on, and this preview window should appear (hi there!):
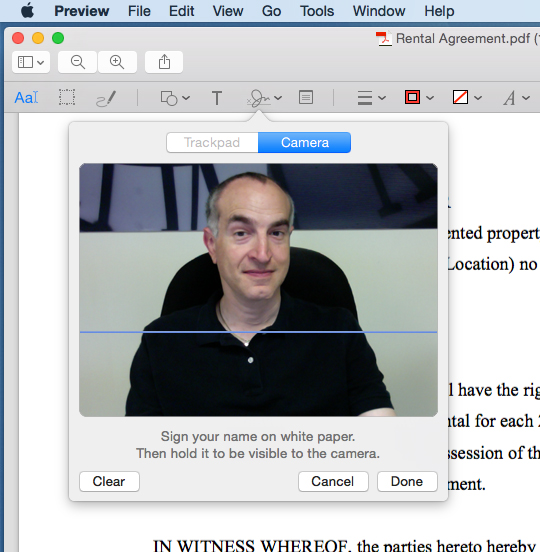
Click to enlarge
Now, all you have to do is hold that signed piece of paper up to the camera (try to keep your signature parallel to that horizontal blue line).
As soon the tool thinks it has found a signature, it will show you its guess:
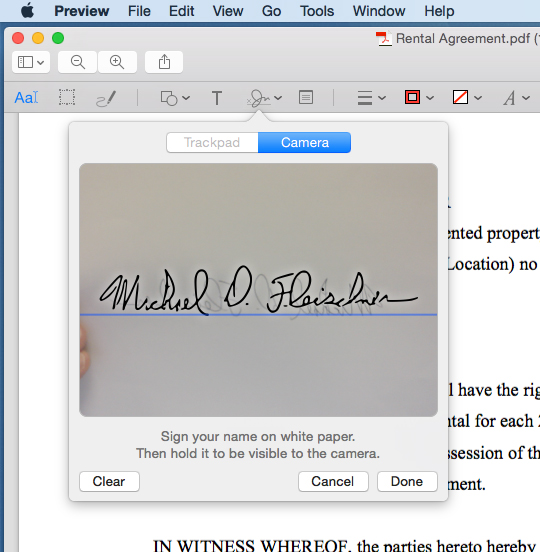
Click to enlarge
You can click the Clear button if you don’t like what the Sign tool chose or the Cancel button if you change your mind and want out. Otherwise, click the Done button and Preview will add the signature image to the Sign tool:
Click to enlarge
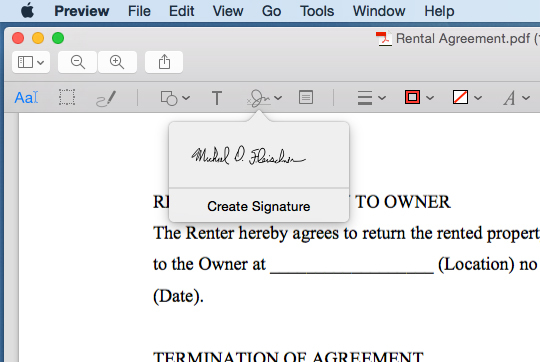
Next, just click the mini version of your signature (not the Create Signature button below it – that’s for adding more signatures if you want) and it will appear, full-size, in the center of your PDF:
Click to enlarge
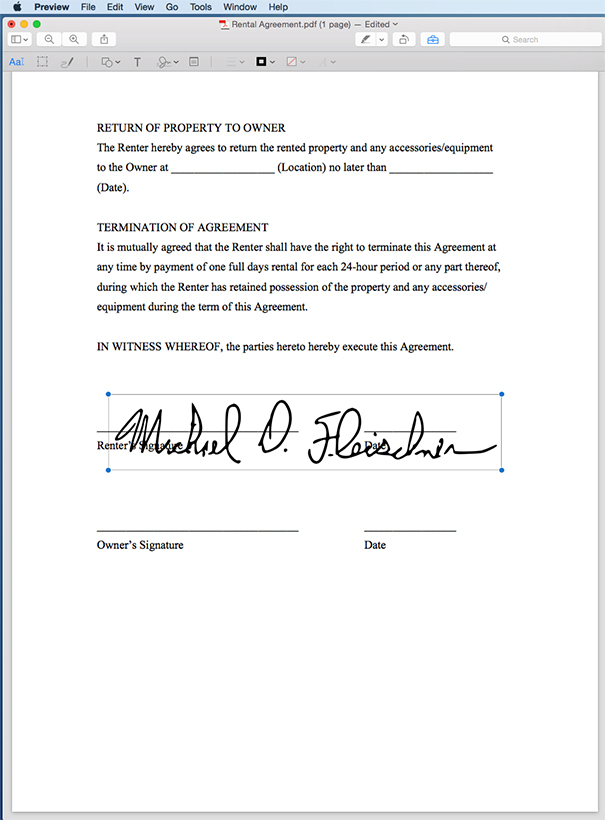
And finally, just move the signature around the page and use the image corners to size it:
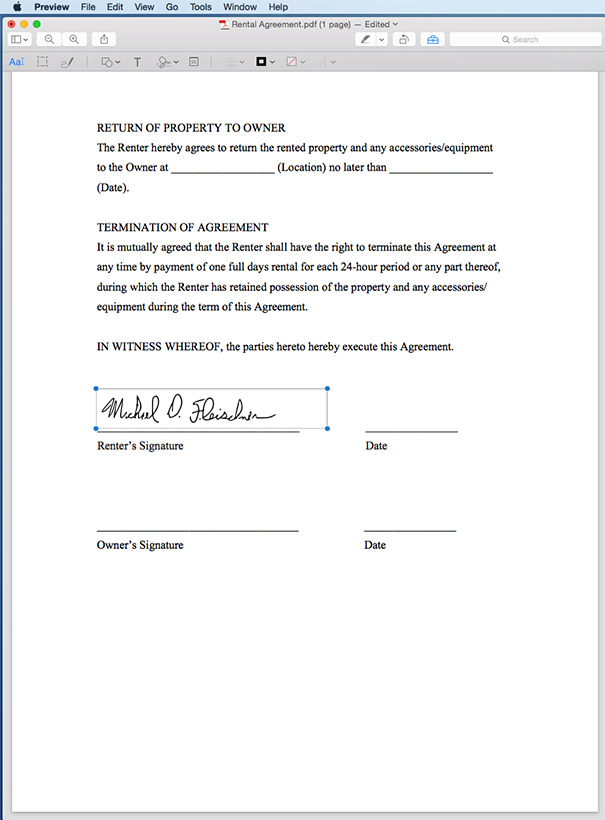
Click to enlarge
When the signature is in the right place and size, just Save (command-S) the PDF or Save As… (shift-command-S) and you’re done!
That signature image, by the way, will remain available in the Sign tool of Preview, so you don’t have to repeat all the camera business every time you want to sign a document. Cool – thanks, Apple!
About The Author