Built into your Mac’s operating system are several useful options for taking screenshots. Here’s a brief description of what’s available so you can see which works best in various circumstance.
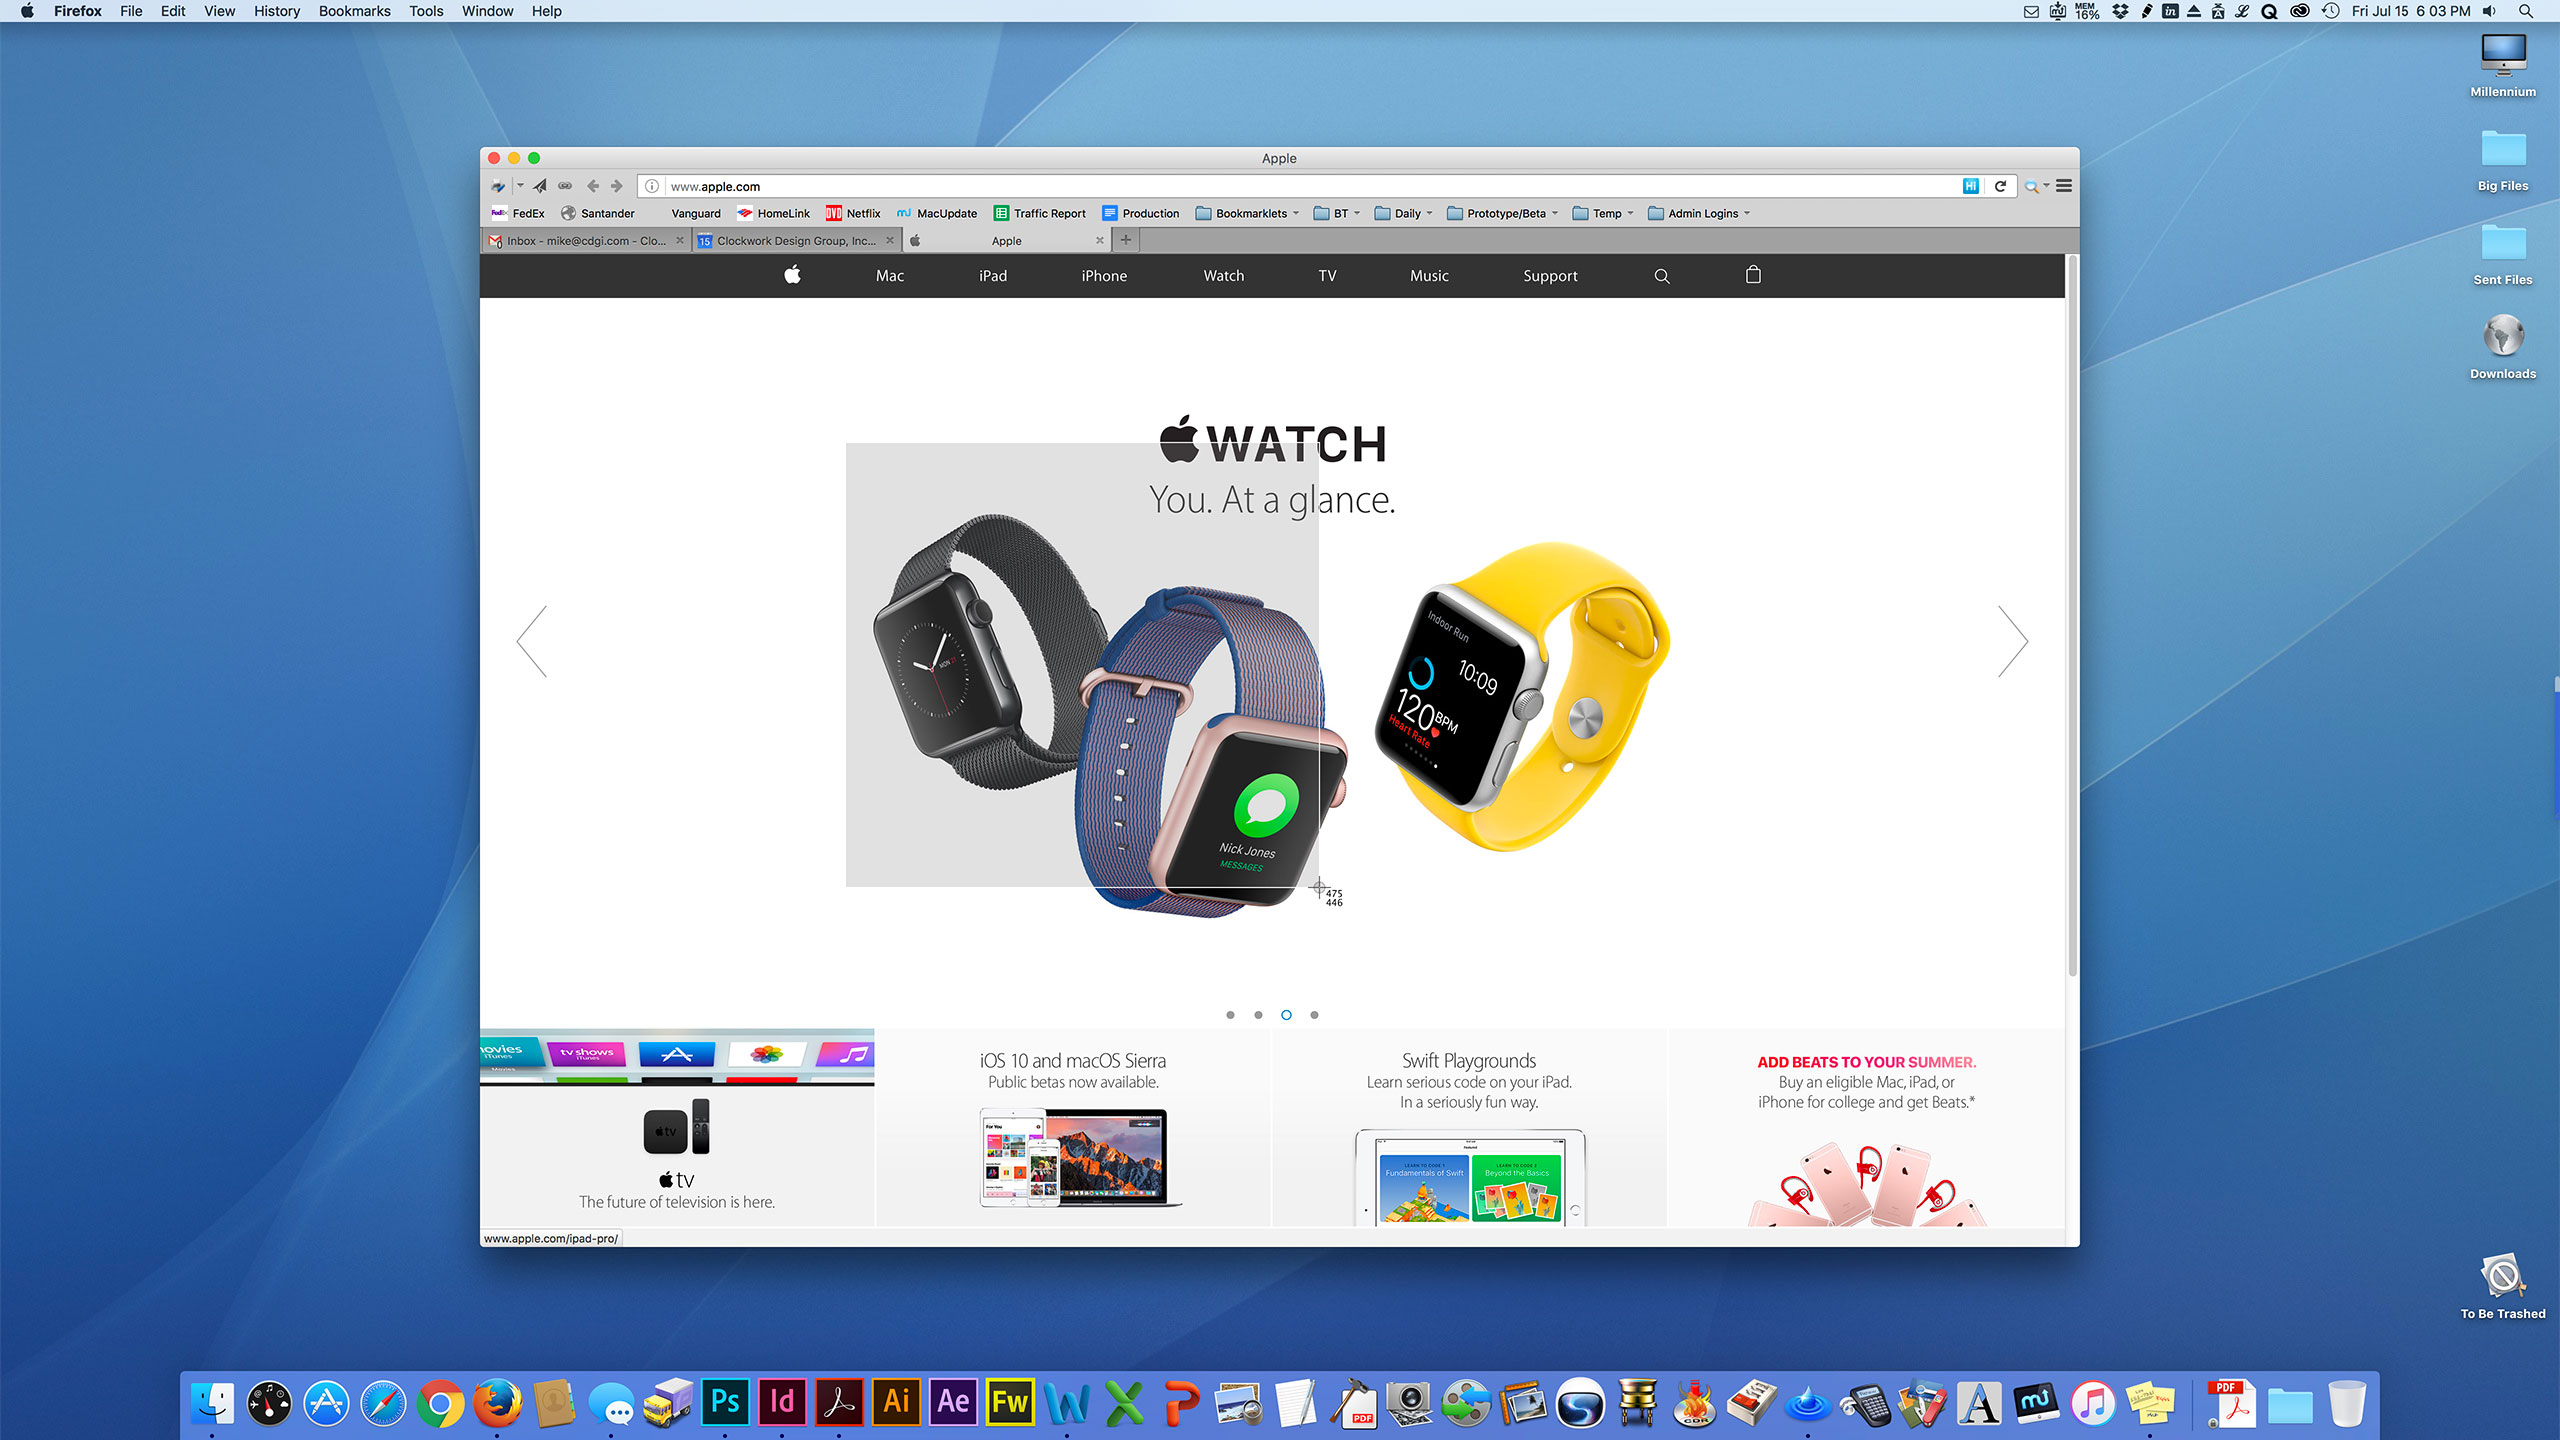
The first is the full-screen shot. This screenshot takes a picture of your entire screen, like this:

Click to enlarge
To execute the full-screen shot, just hold your shift and command keys, and tap the “3” key. The shot is taken immediately.
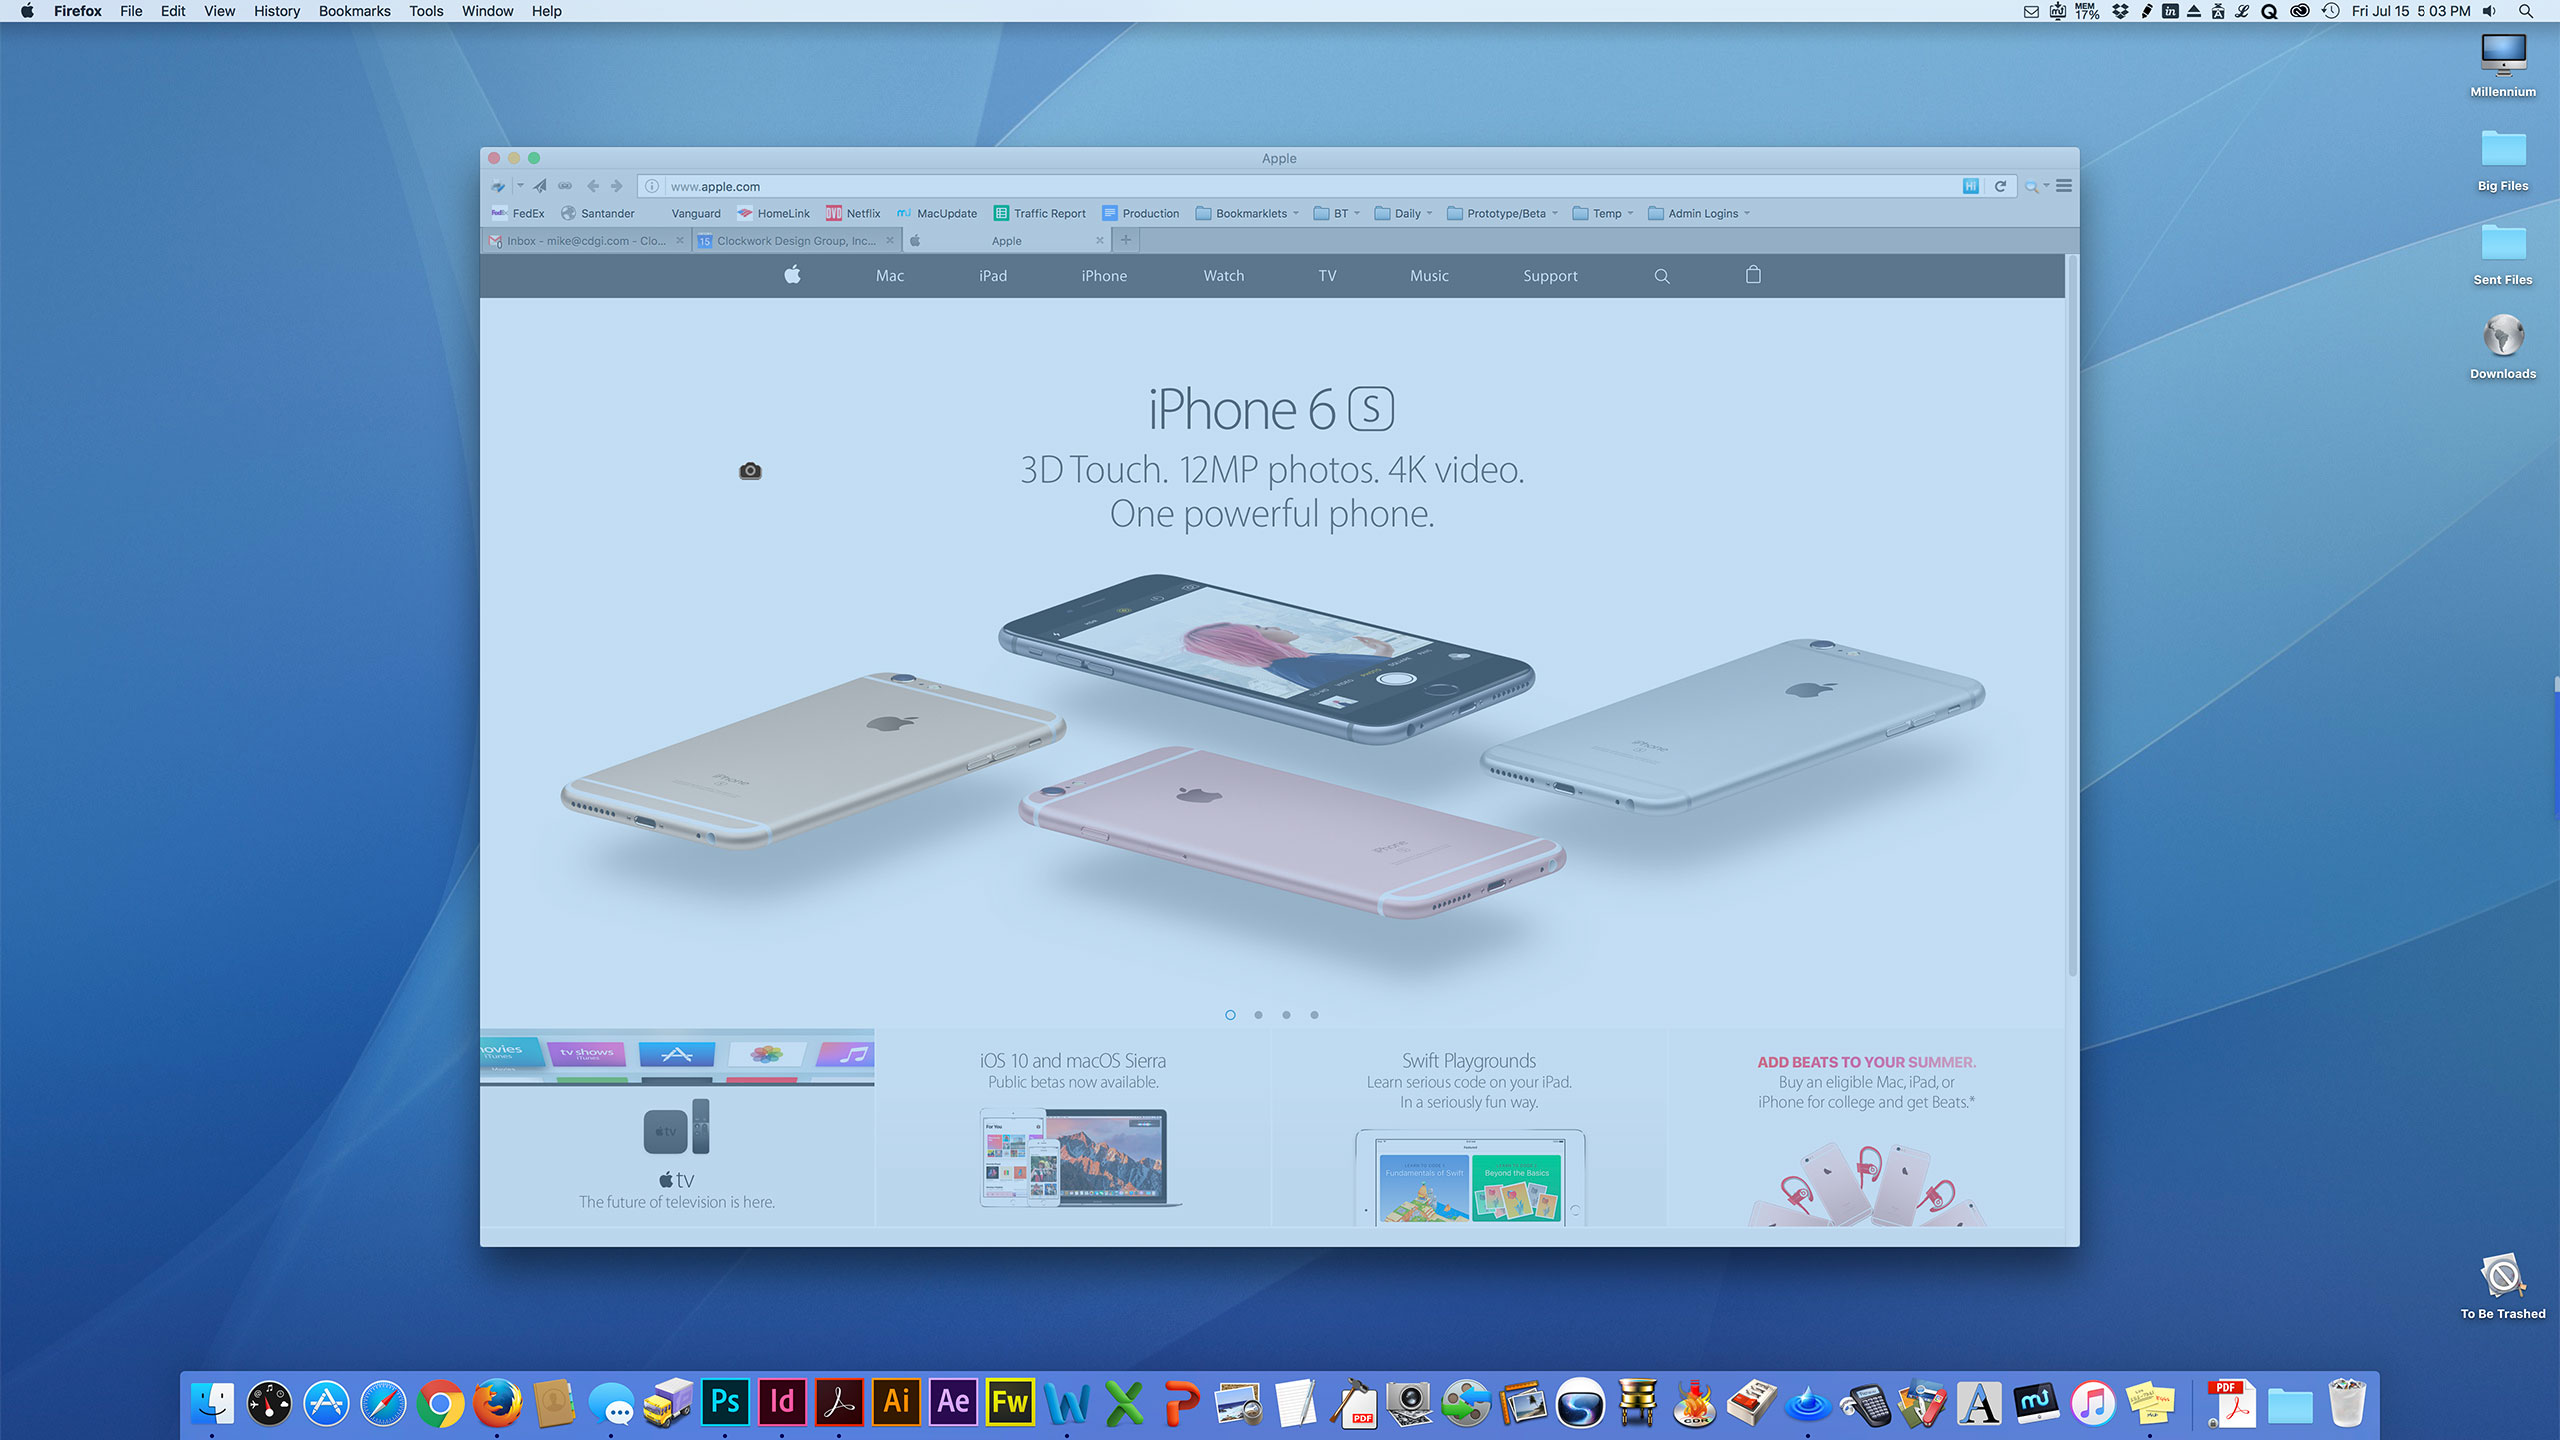
The next type of screenshot is the selected-area shot, in which you drag out a rectangle to take a shot of just that area. It even tells you the dimensions of the area you’re creating – look for the X and Y values near the cross-hair cursor that appears:
Click to enlarge
To execute the selected-area shot, just hold your shift and command keys, and tap the “4” key. The cursor will change and you drag out your rectangle. As soon as you let go of your mouse button, the shot will be taken.
Next is the selected-object shot. This type of screenshot begins like the selected-area screenshot, but instead of dragging out a rectangle, you choose an object such as a browser window or menu. To execute the selected-object shot, just hold your shift and command keys, tap the “4” key, and then tap the spacebar. Your cursor will change to a little camera which you can hover over various objects. The object that can be captured will change color, such as this browser window…
Click to enlarge
…or this menu:
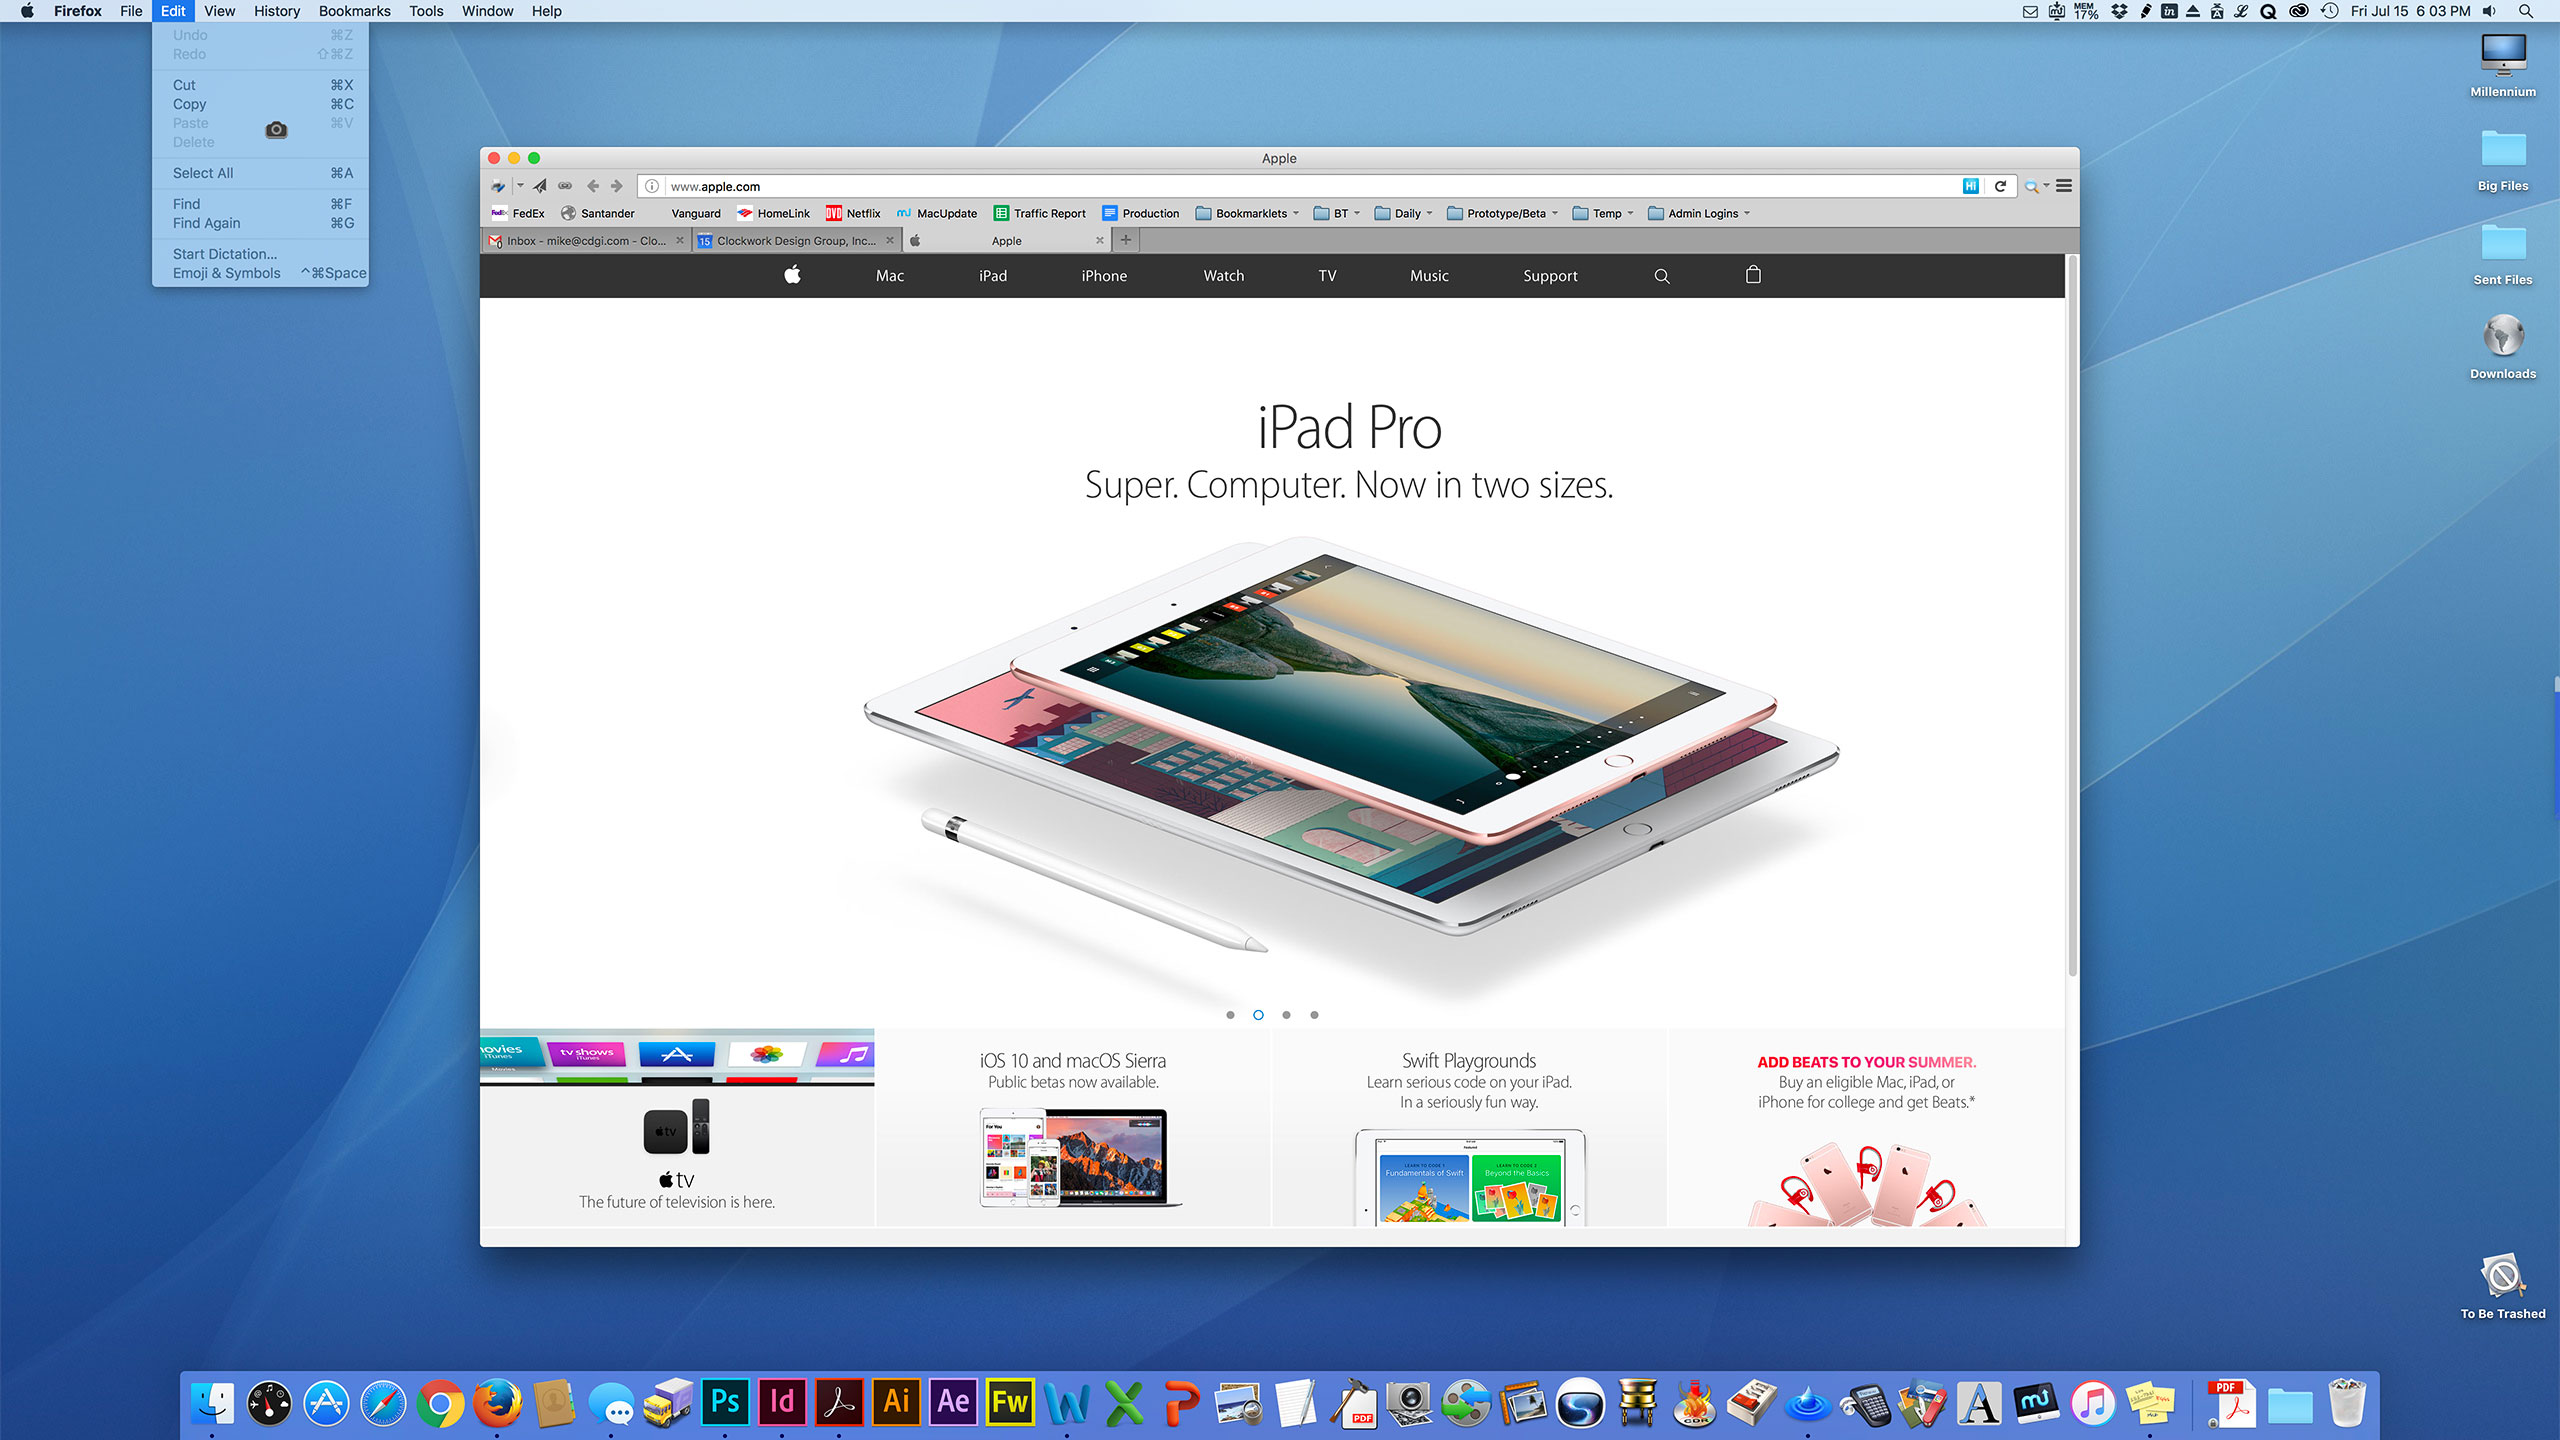
Click to enlarge
When your cursor is over the object you want to capture and it changes color to indicate it’s a valid choice, just click the mouse and the shot will be taken.
Each type of screenshot comes in handy depending on what you need, and now you know all the choices you have!
About The Author