
The iPhone and iPad have always allowed you to take screenshots, but as of iOS 13.1 you can also capture the parts of the page “below the fold” as well. For example, you can create a screenshot of a full web page – not just the part that’s visible in the display area.
To do this, first take a screenshot in the usual manner you’re used to. If you’ve never done this before, here’s a handy help page from Apple’s support section.
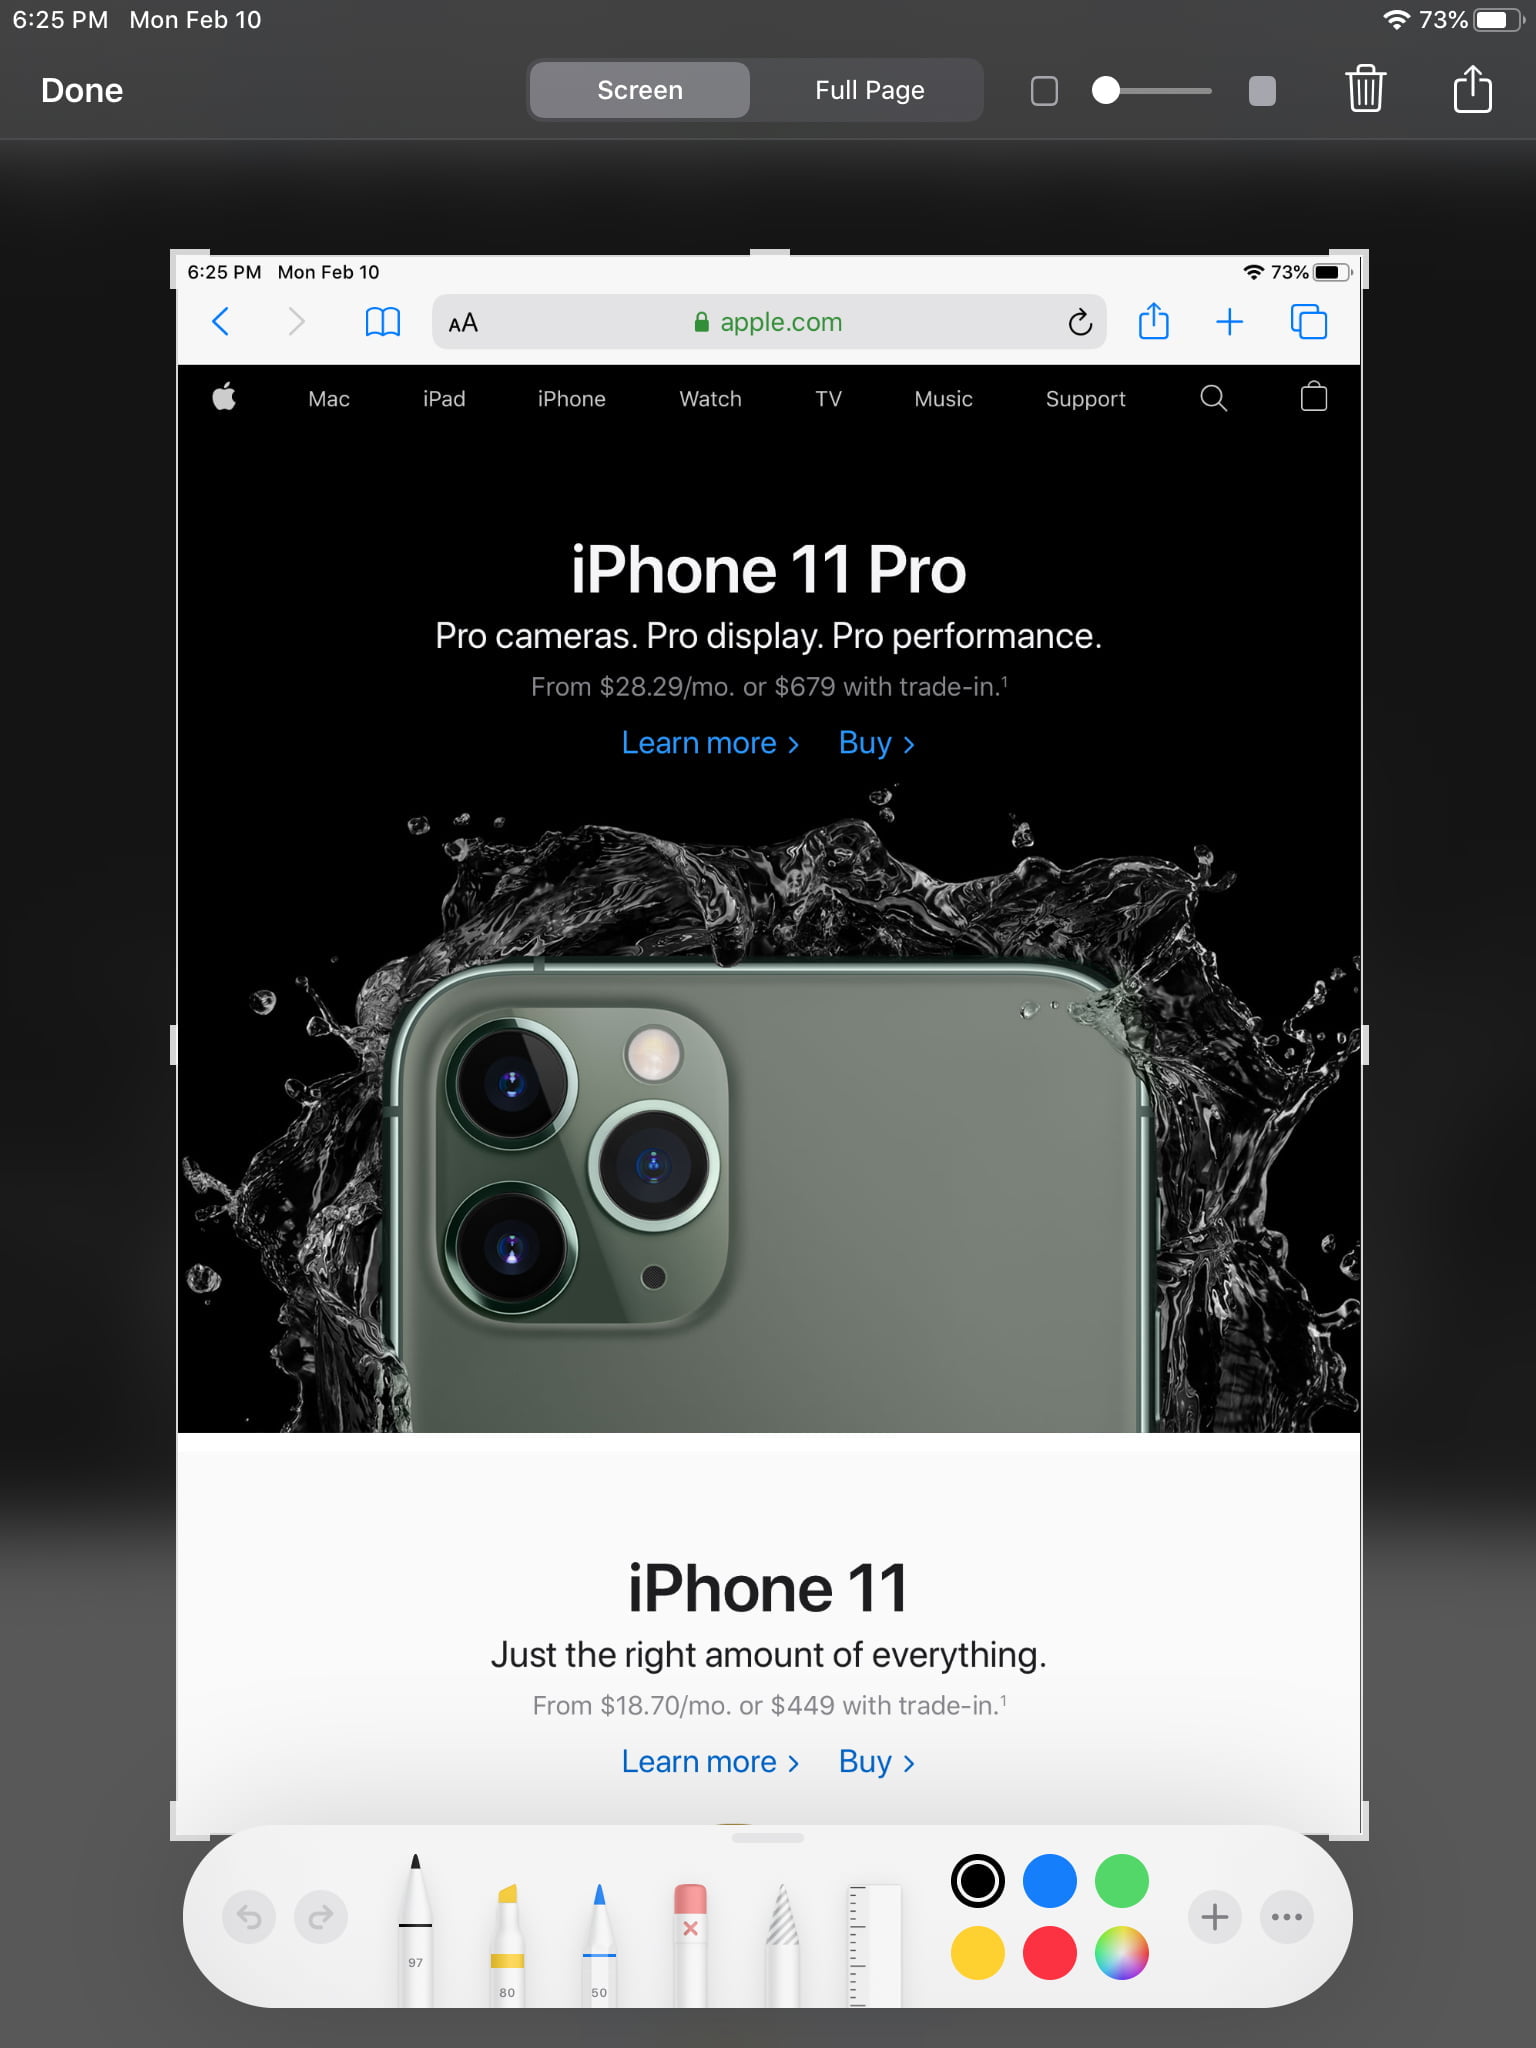
Let’s capture this homepage, for instance:

Tap on the captured image to put the screenshot into edit/markup mode, which includes controls such as the cropping handles along the sides and corners, plus all the tools at the bottom that allow you to add notes, make highlights, and other things:
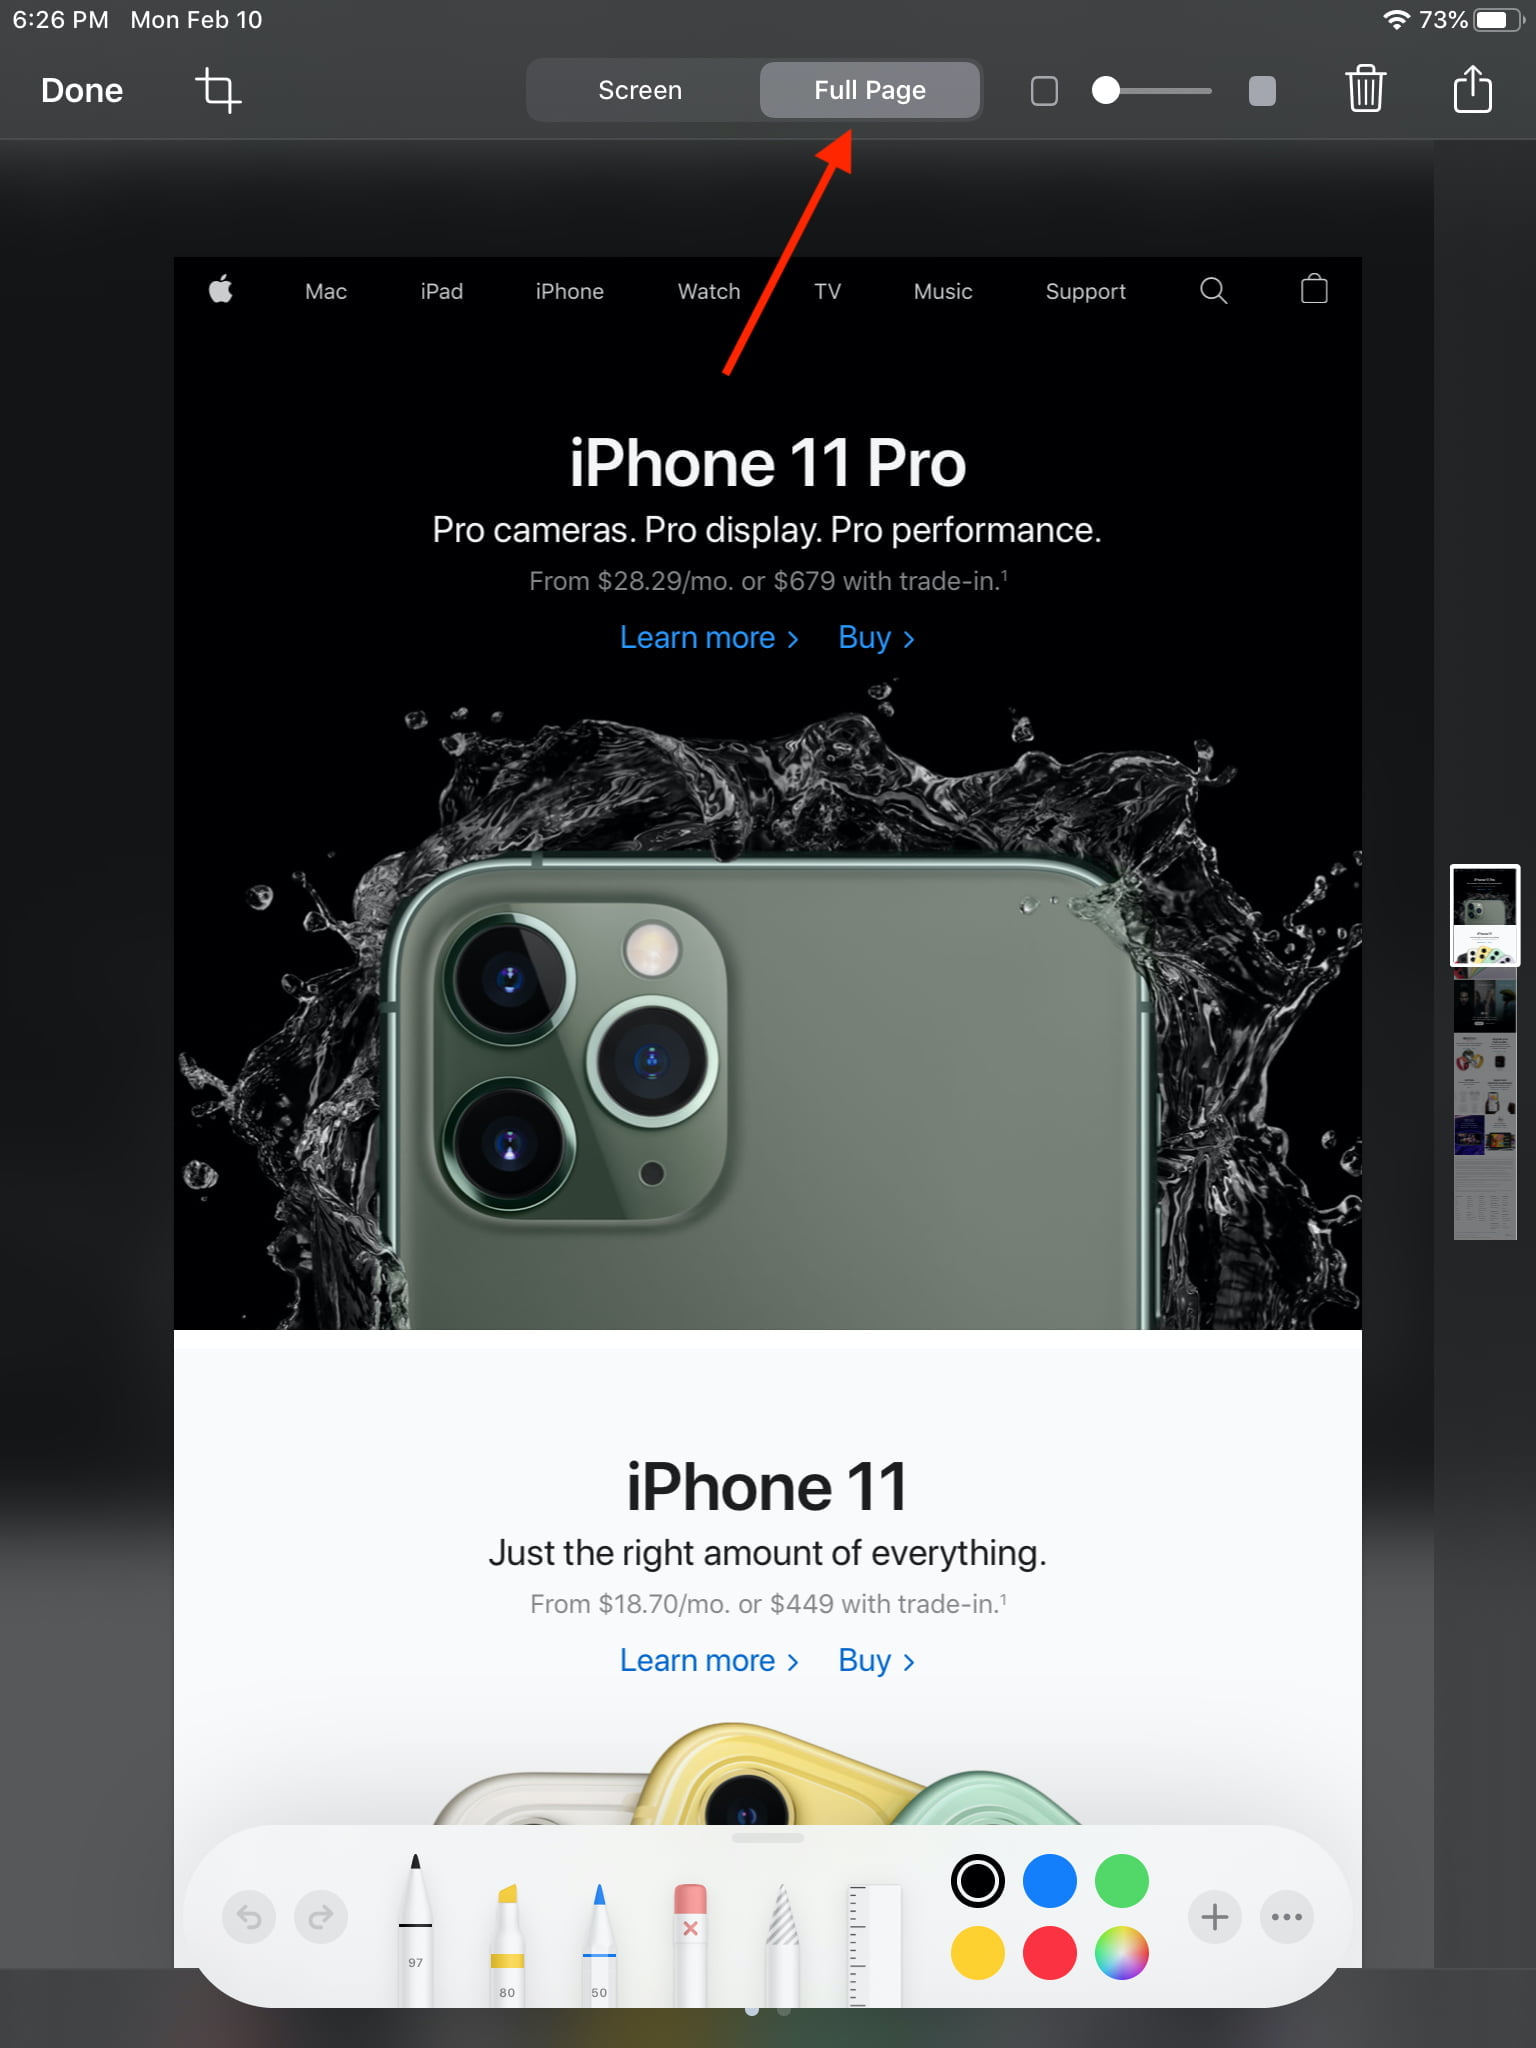
But also notice at the top is a toggle to switch from Screen to Full Page. If you flip to Full Page, the cropping handles disappear and you’re shown the web page in its entirety:
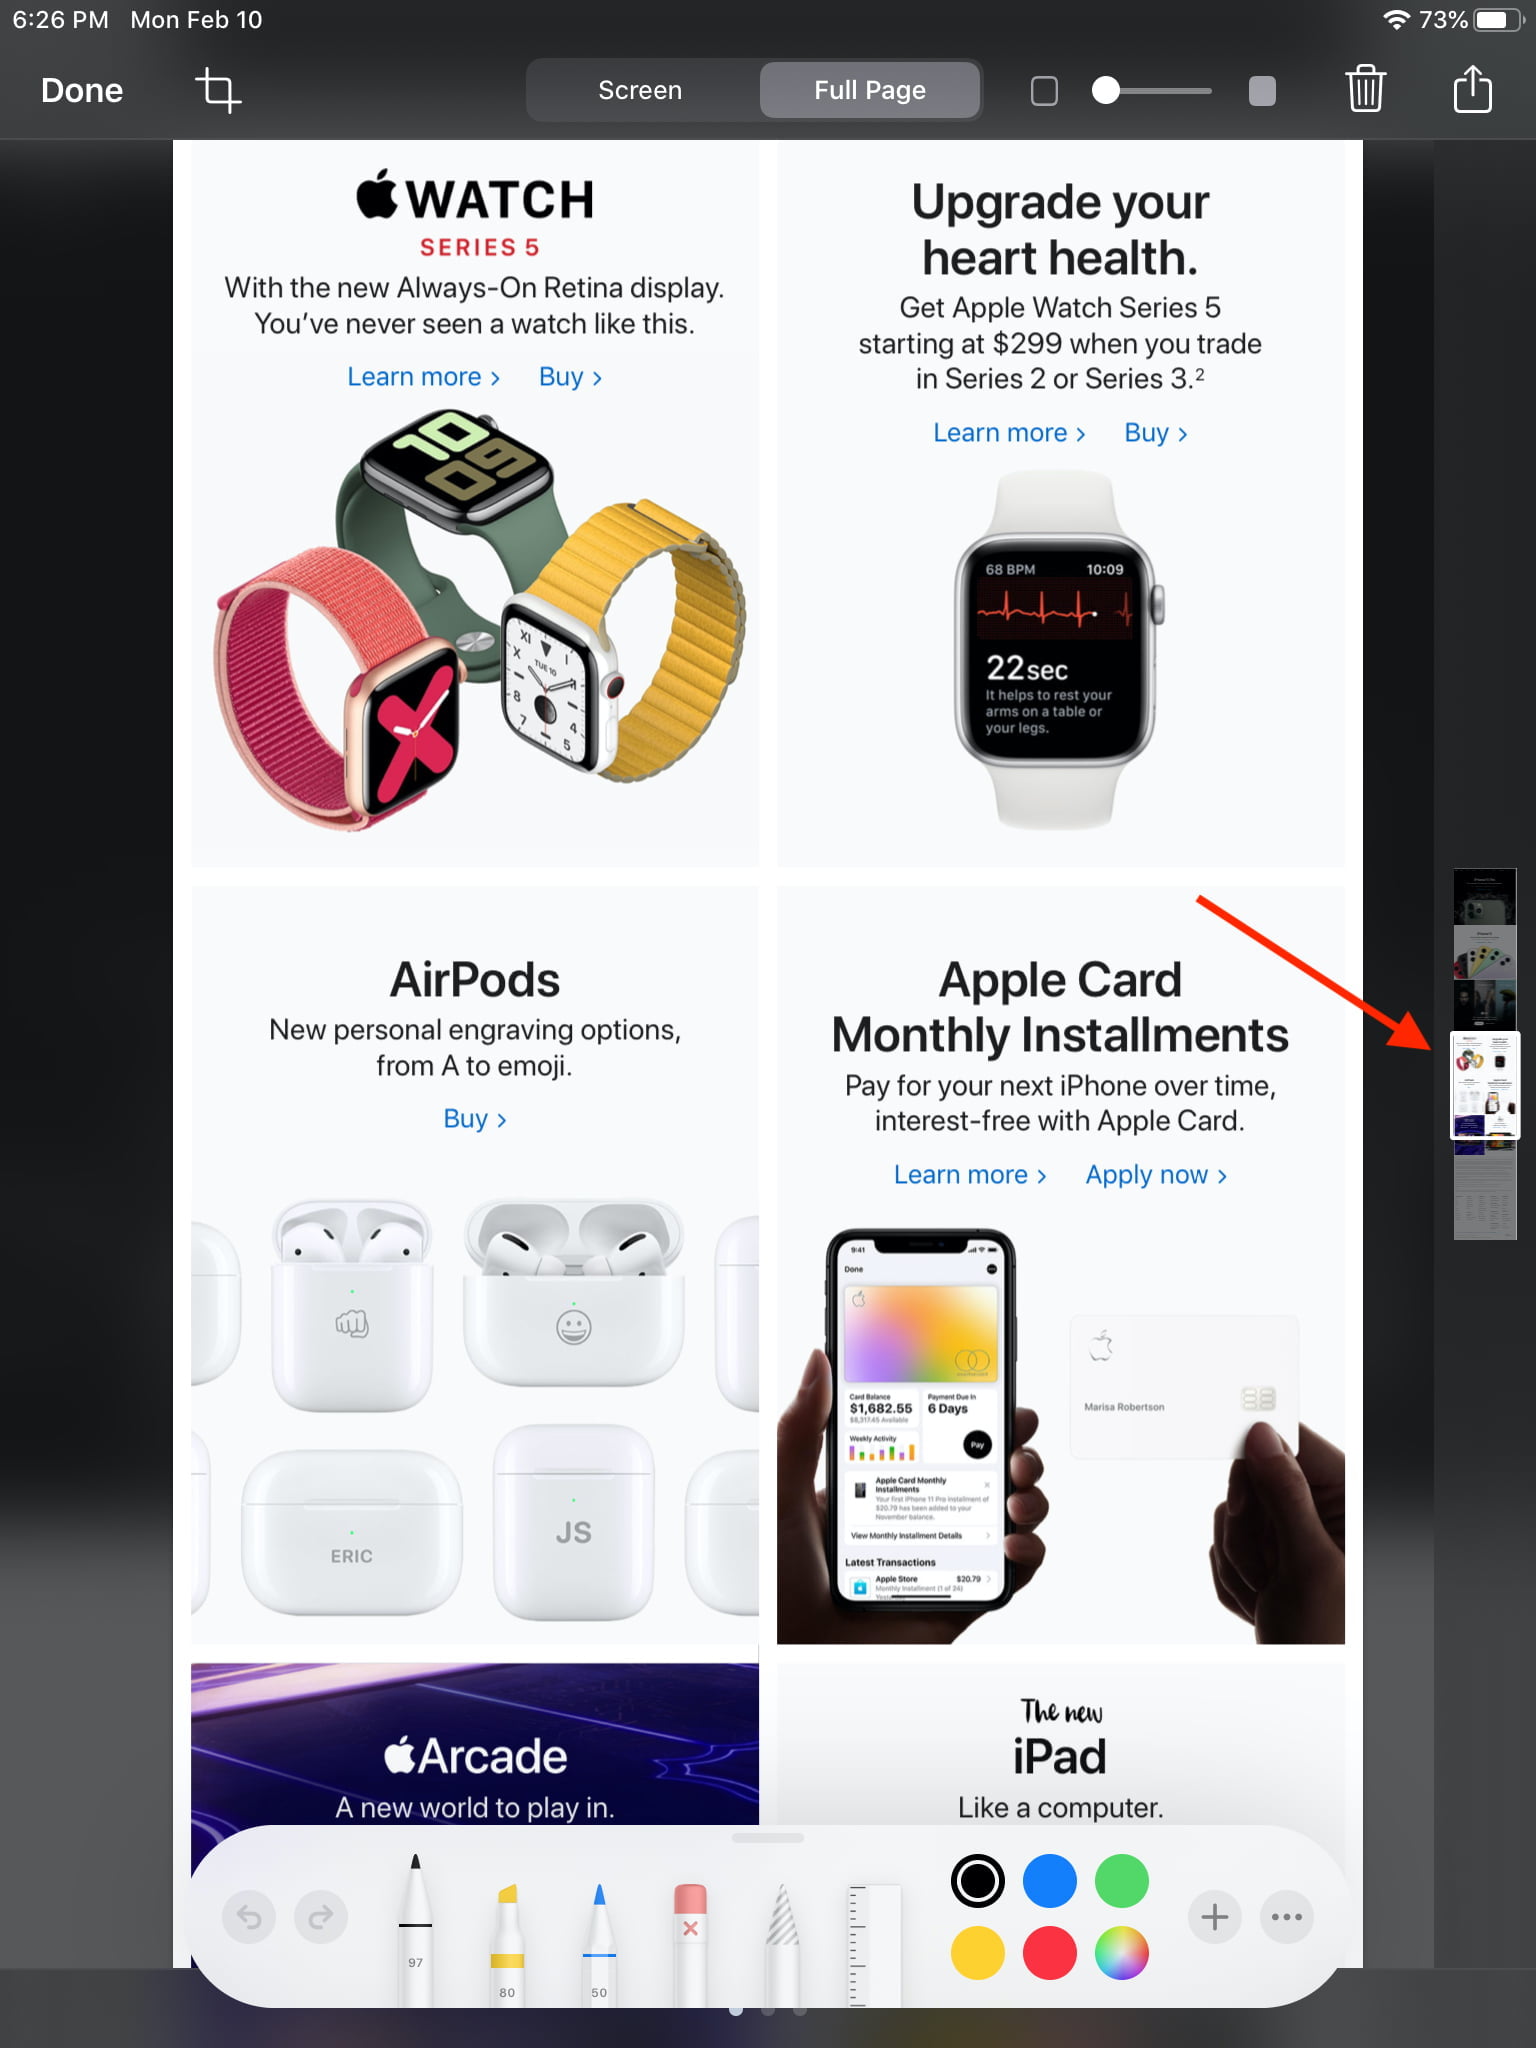
Note the slider down the right side that lets you review or mark up any part of the page before saving or sharing it:
Unlike a screenshot, which will save the file as a JPEG or PNG depending on your settings, a Full Page capture will save it as a PDF, which tends to be a pretty useful format when it comes to displaying a full page and not just a small portion of it.
About The Author