
If you’ve ever had to add footnotes to a post or page in WordPress, you probably know it’s not the most straightforward process – and even requires the use of a plugin if you’re unfamiliar with HTML coding. But as of WordPress version 6.3, that all changes for the better.
First things first. If you’re on a post or page that uses the older Classic editor, this feature isn’t available. It only applies to content that’s managed with the newer Gutenberg (“block”) editor.
Okay, that being said, all you need to do to add footnotes is… add the Footnotes block:
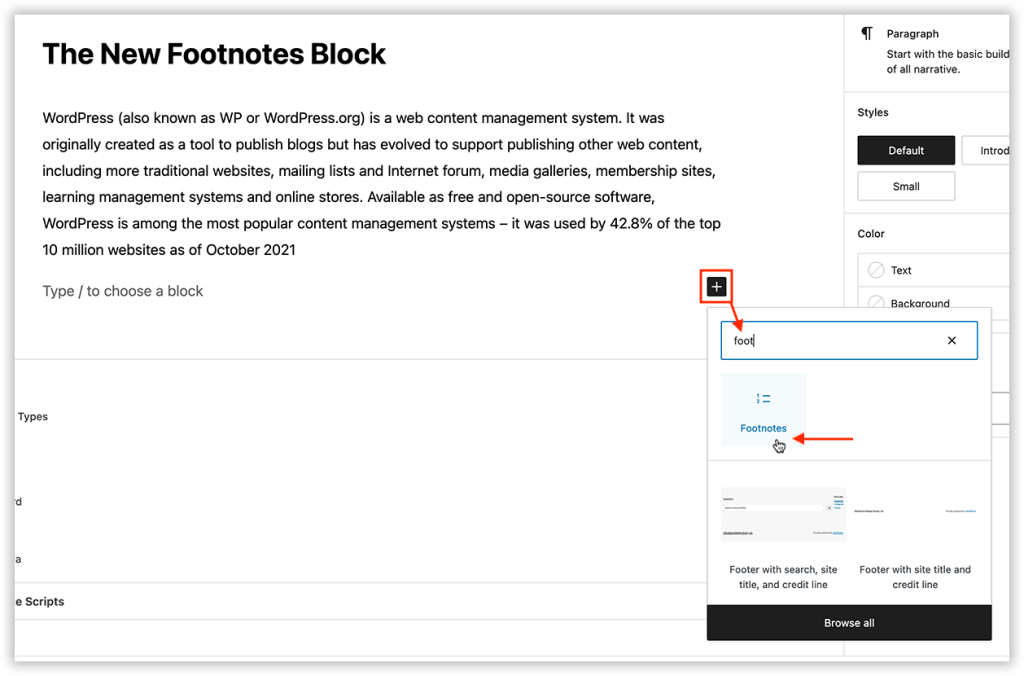
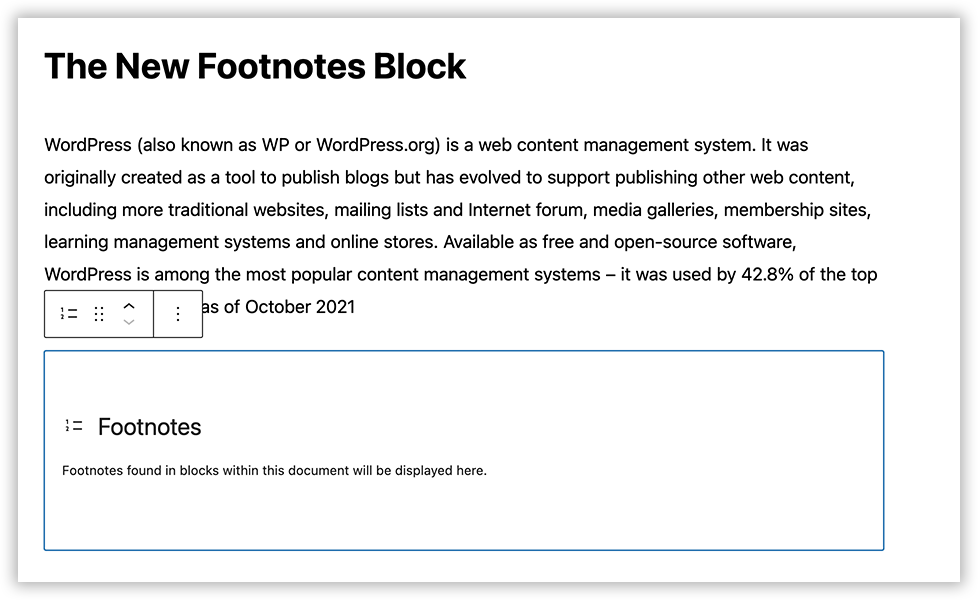
An empty Footnotes block is created:
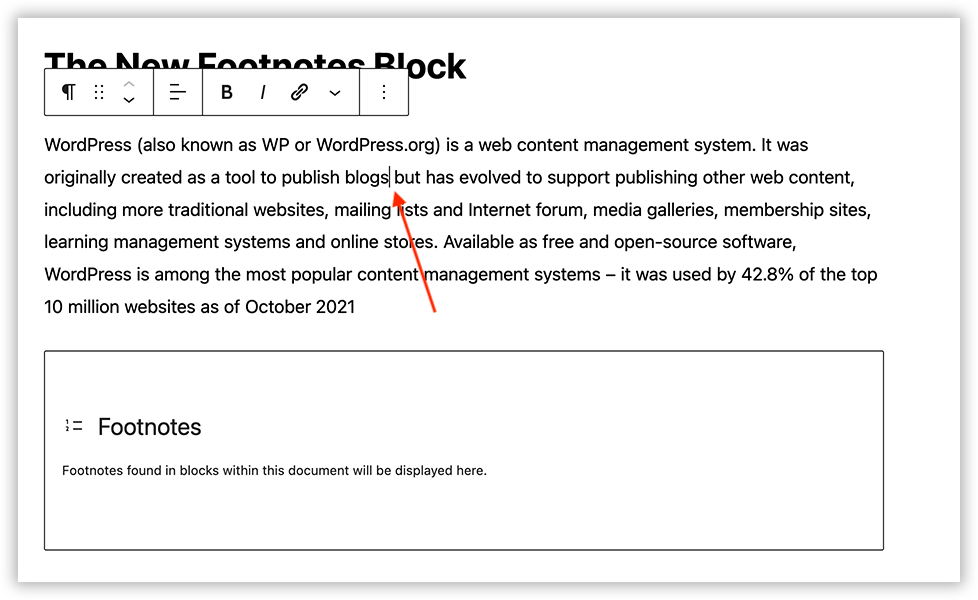
Now, just drop your cursor into the text where you want your first footnote to appear:
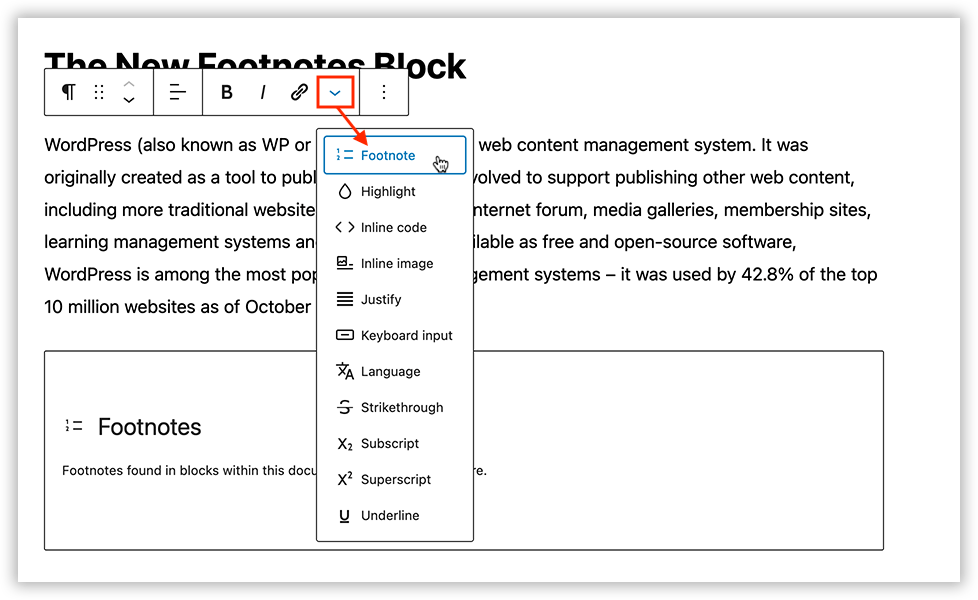
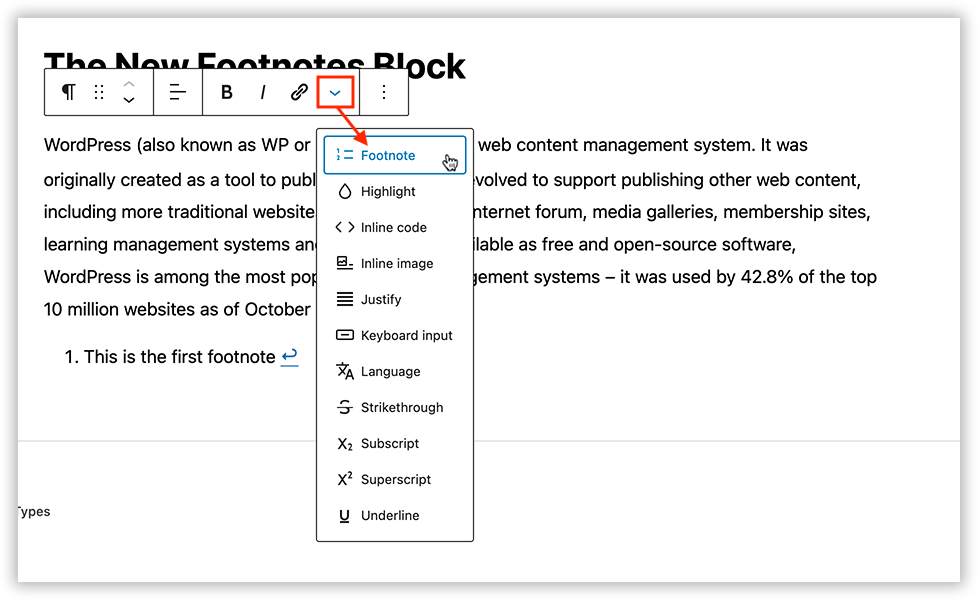
Next, click the small downward-pointing arrow in the toolbar and choose Footnote in the drop-down menu:
A “1” is created where your cursor was inserted and a “1” footnote is added to the Footnotes area at the bottom:

Type or paste in your footnote information:

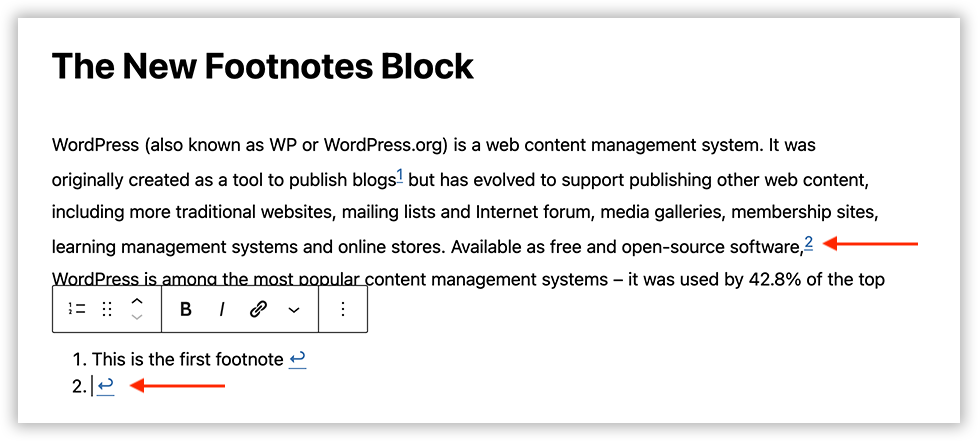
And that’s it. The numbering and the links from the text to the footnote and back are generated automatically. Want to add more? Just repeat the process by dropping your cursor into the next place:

Drop-down menu; choose Footnote:
And the next one is created:
Add the second footnote info:

Continue until all your footnotes have been added. Need to add one in between two existing ones? Want to remove one right in the middle of your text? Feel free – they’ll all renumber automatically.
And of course, check any time to see how it looks on the public-facing side:

About The Author