
If you’ve ever had a picture of an object, but would like to change that object’s color, here’s a quick tip for doing that. This trick won’t work for all images and circumstances, but if the object’s color is 1) distinct and 2) fairly uniform, here’s a way to do it in a few seconds.
For this example, let’s start with this photo of a toy car:
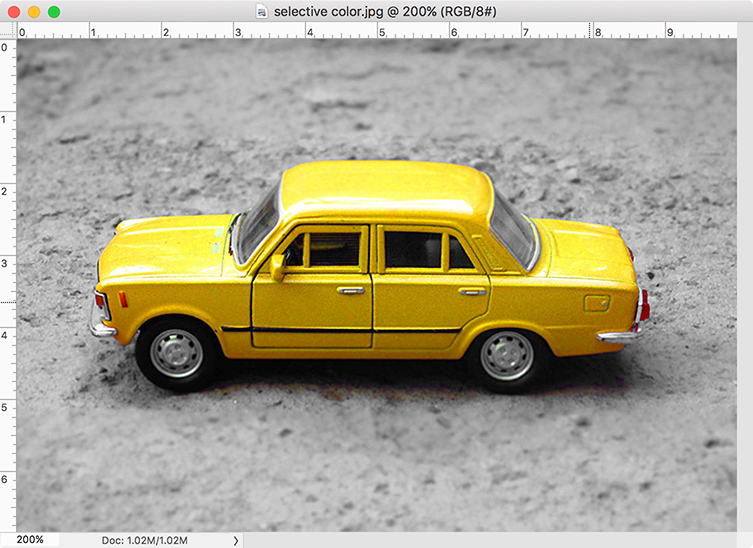
As I mentioned above, this car’s yellow color is both 1) distinct from the rest of the image, and 2) pretty uniform. Convenient!
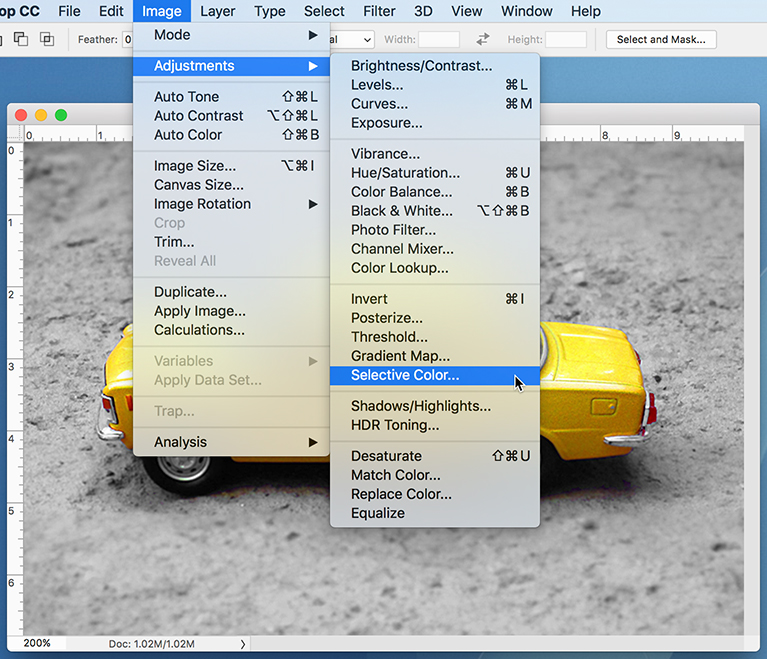
First step is to grab the Selective Color… command which can be found in the Image menu, and then Adjustments submenu:
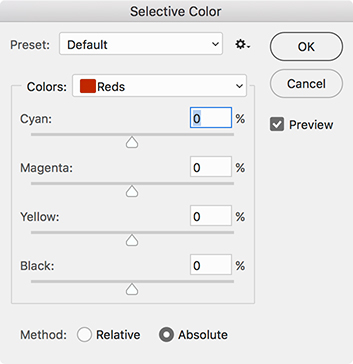
After the Selective Color panel appears, make sure you’ve got Preview checked so you can see the changes you’re going to make on-the-fly. Also, make sure the Method at the bottom of the panel is set to Absolute:
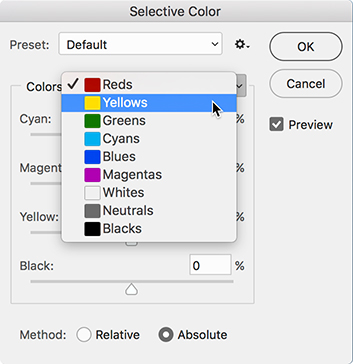
Next, use the “Colors:” drop-down to choose the color you’re looking to change; in this case it’s the car’s yellow:
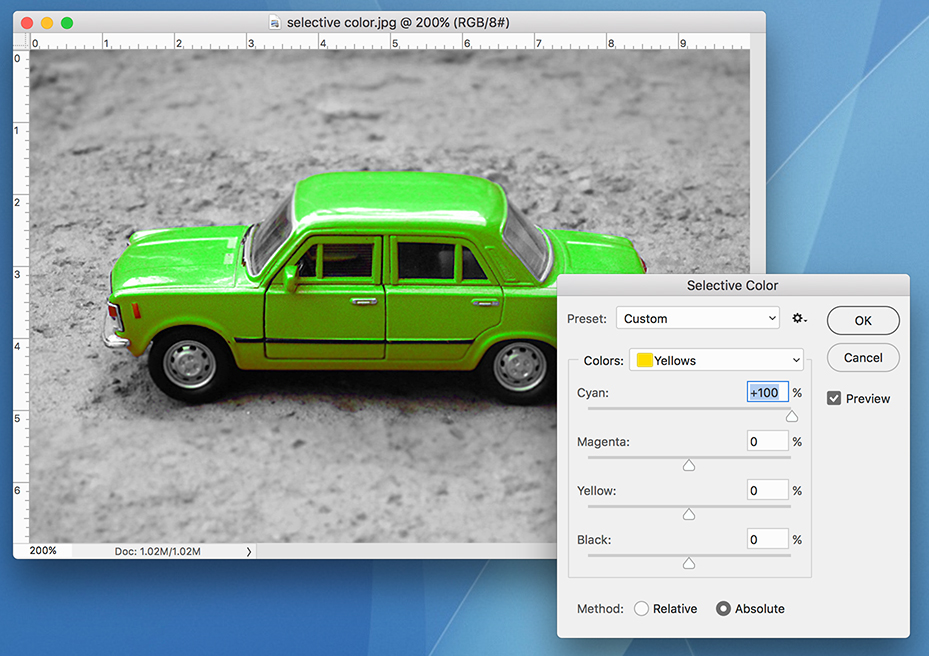
And then, simply add or remove the colors you need based on what you probably learned in middle school. In other words, yellow plus blue (cyan) makes green:
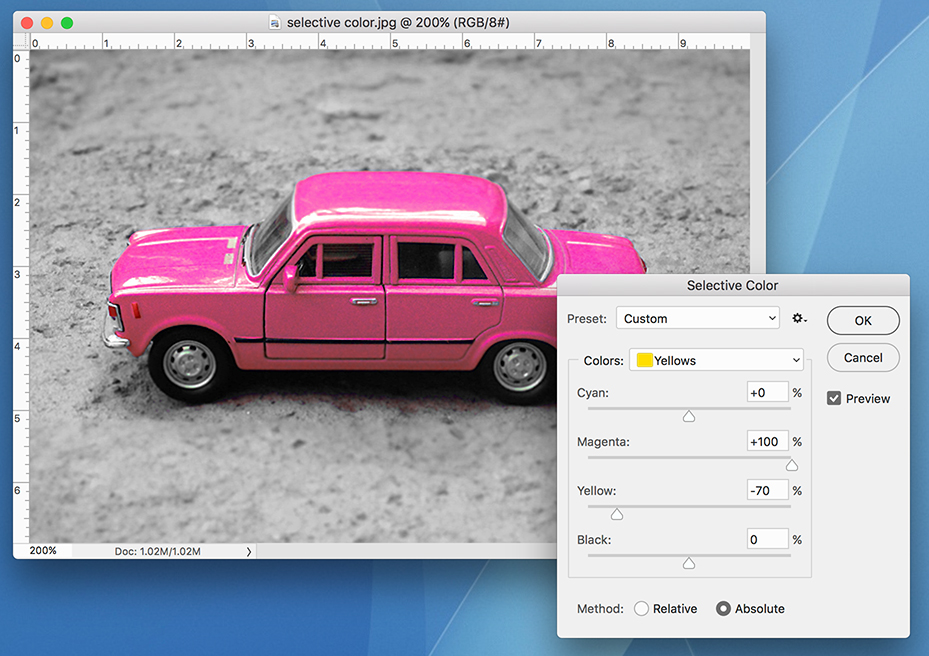
Or less yellow and more red (magenta) makes pink:
Once you’re happy with the results, just click the OK button and you’re ready to roll!
By the way, if your image is a bit more complicated than the above example, you can still use use the this tool, but you’ll also have to use some of the various Selection tools to isolate the parts of the image you want to modify.
About The Author