“A picture’s worth a thousand words,” the saying goes. If you remove part of that picture, is it only worth 500 words perhaps? I’ll let you ponder that one on your own. In the meantime, let’s spend a few minutes reviewing one of the Photoshop tools that is great for removing little (and sometimes not so little) bits of an image… without leaving an empty space afterward.
We’ll grab this image to get things started (click any of the small images below to see larger versions, by the way):
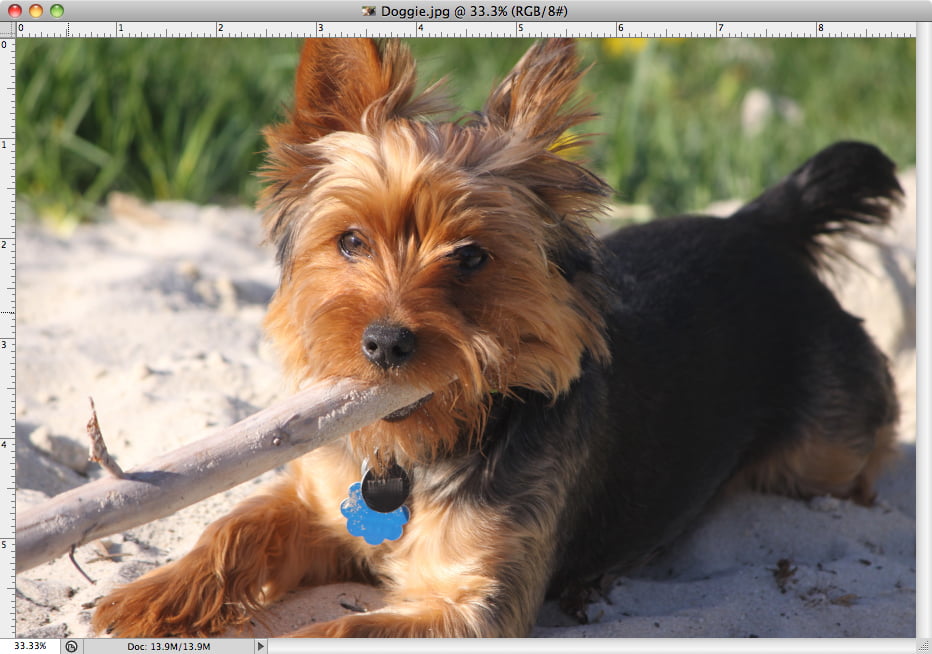
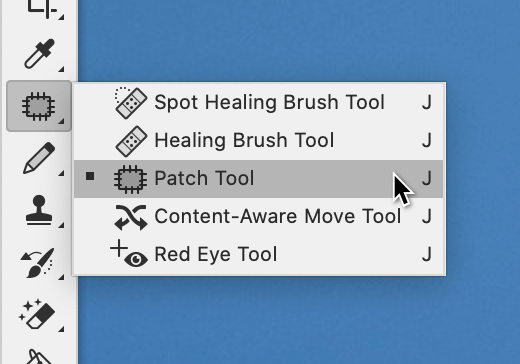
Let’s say you’d like to remove the little guy’s ID tags. The Patch Tool in Photoshop would be a good choice for this kind of thing. You’ll find it here:
Using the Patch Tool, draw a selection around the elements you’d like to remove. Don’t bother tracing it exactly, and in fact, I’m intentionally leaving a bit of space between my selection and the tag:
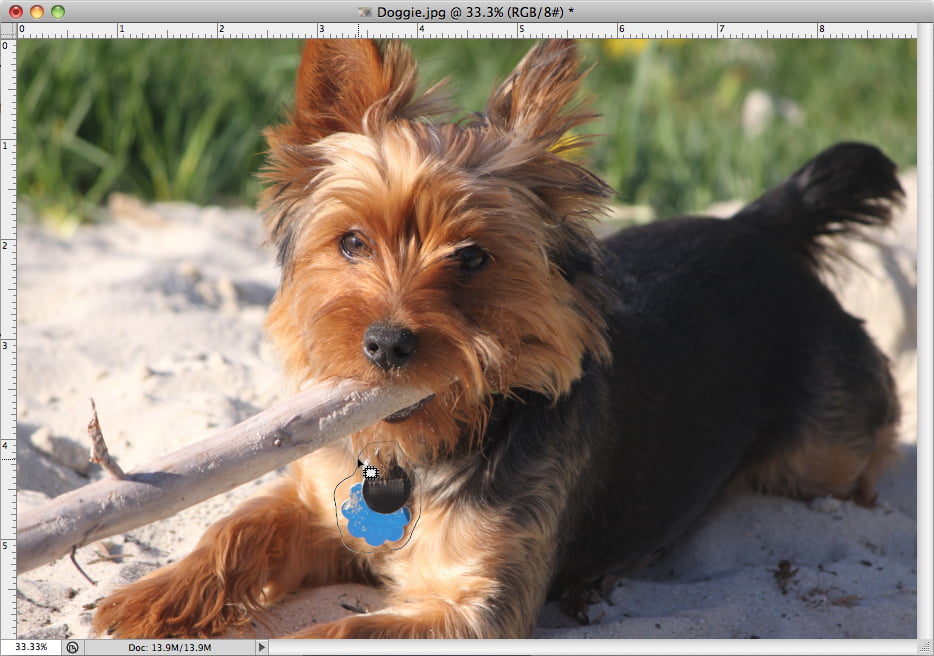
Next, click and hold down your mouse button inside the selection area, and move entirely outside the selection area into an area that looks somewhat similar to your starting area. In this case, there’s another light brown furry area nearby. As you move your mouse around, the new area can be seen in your original area, updating in real-time:

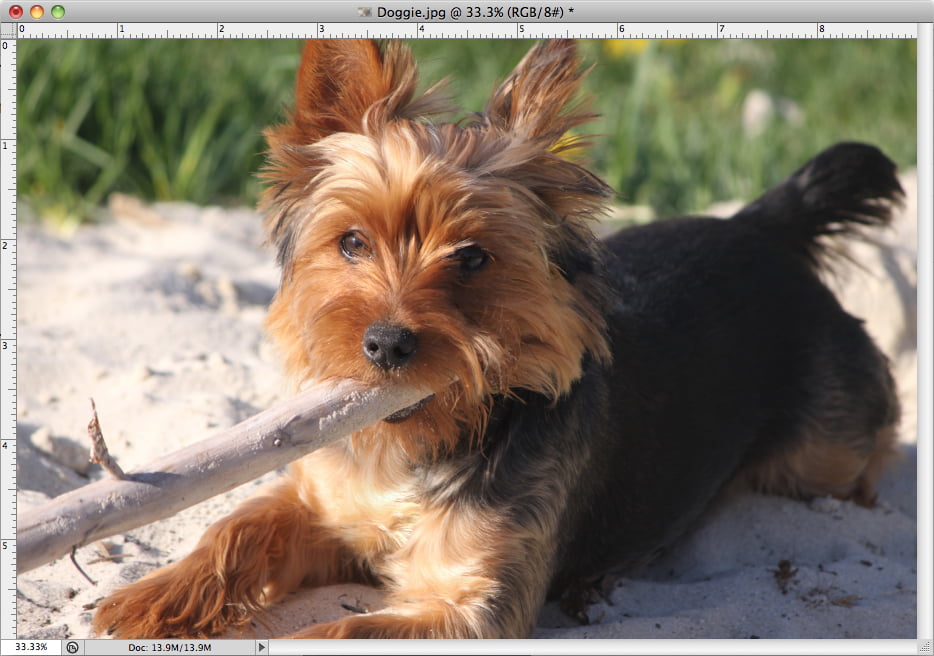
Once you let go of your mouse button, Photoshop does a pretty impressive job in massaging and manipulating the border around your selection to make it look even more natural. Here’s our image after deselecting the area:
Of course, no single Photoshop tool can be used in every situation, but if you pick the right tool for the job, you can get a lot done in very little time. Fetch!
About The Author