
A professional email signature acts as a digital business card that reinforces your brand identity with every message you send. By aligning your sign-off with your established visual style, you build immediate trust and ensure your professional “voice” remains consistent across all platforms. Creating a professional email signature is straightforward when using a template, and this simple tutorial will help you design one in Word and move it into Outlook.
1. Choose and Customize Your Template
- Visit the Template Gallery: Go to the Microsoft Word Email Signature Templates page.
- Select a Style: Browse the categories—such as Minimalist, Professional Profile, or Logo-based—and click on the design that best fits your brand. You can modify it later.
- Open in Word: Click the template to open it in Word for the Web or your Desktop version.
- Personalize the Content: Click on the placeholder text to type in your name, job title, and other contact information.
- To swap images, right-click the placeholder photo or logo and select Change Picture.
- To add links to social media icons or your website, highlight the icon/text, press Ctrl + K, and paste your URL.
- Modify the colors, graphics, and fonts to match your brand.
- Pro Tip: For the best compatibility across different email apps, stick to “Web Safe” fonts like Georgia, Verdana, or Helvetica.
2. Move the Signature to Outlook
Once your design is ready, you need to copy it into your email client.
- Copy the Signature: Highlight the entire signature area by clicking the ‘Table’ icon in the upper left corner of your content in the Word document, and press Ctrl + C to copy it.

- Open Outlook Settings:
- In Outlook Desktop: Go to File > Options > Mail > Signatures.
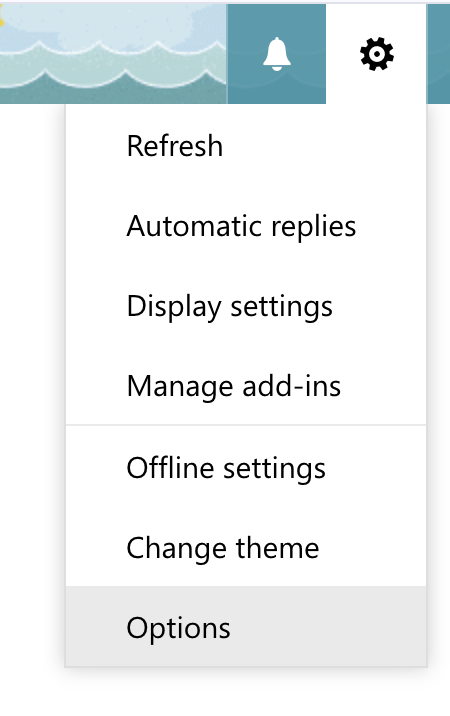
- In Outlook Web: Click the Settings (gear icon in upper right corner) > Options, select ‘Email Signature’ in the left sidebar.
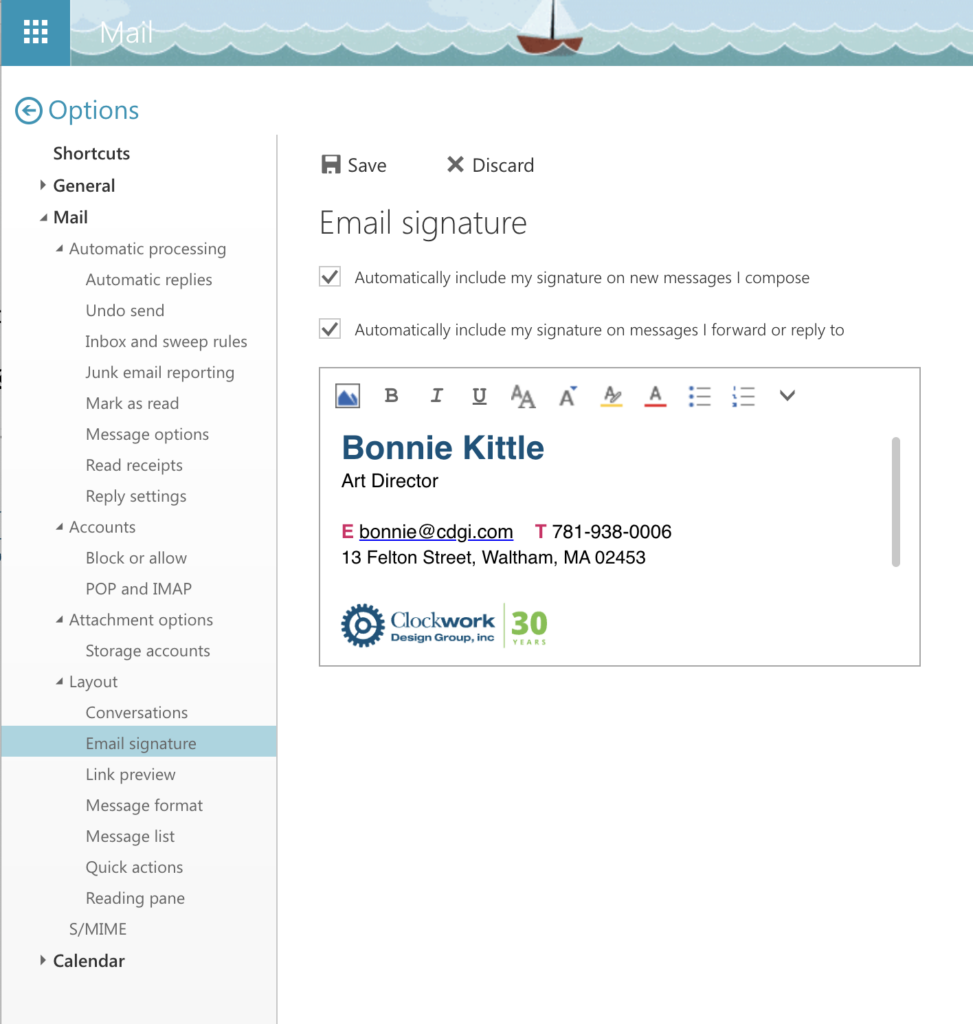
- Paste and Save: Click into the edit box, press Ctrl + V to paste your design, and then click Save.
- To make sure your new signature appears automatically check the boxes above the editor:
- Automatically include my signature on new messages I compose
- Automatically include my signature on messages I forward or reply to
- Click Save one last time.
To see how to add and edit signatures in Outlook, watch Microsoft’s video tutorial for more help.
Quick Tips for Best Results
- Mobile Formatting: Keep the signature relatively narrow (around 300 to 400 pixels wide) so it does not get cut off when viewed on smartphones.
- Image Sizes: If your logo appears too large or blurry after pasting, try resizing the original image within Word before copying it over to Outlook.
- Alt Text: If you are using a logo, right-click the image in Outlook and add “Alt Text” so people using screen readers know it is your company logo.
About The Author