If you’re a Google Apps user, you probably know there’s an ever-growing and changing fleet of programs from Google, available to you for an almost infinite number of tasks. Gmail and the Google Calendar are among the most widely-used, with dozens more following closely behind. What you might not be aware of is that you have customizable, instant access to all these products.
Notice the 3×3 “grid” icon in the upper-right corner of a given Google App, such as in Gmail:
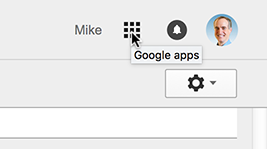
or Google Calendar:

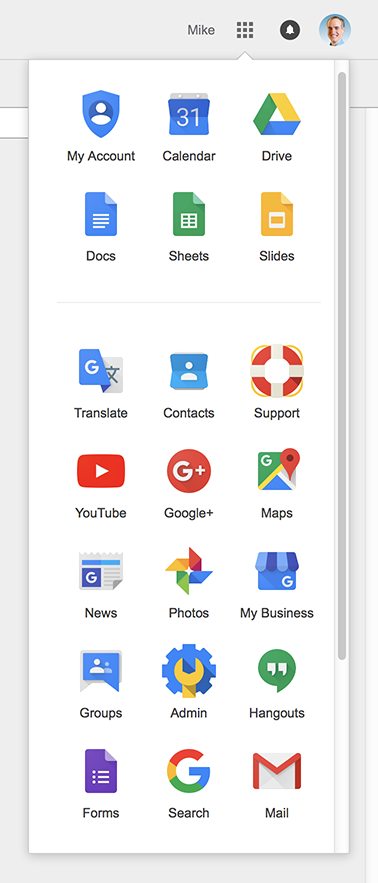
Clicking that icon reveals a drop-down menu of available Google Apps:
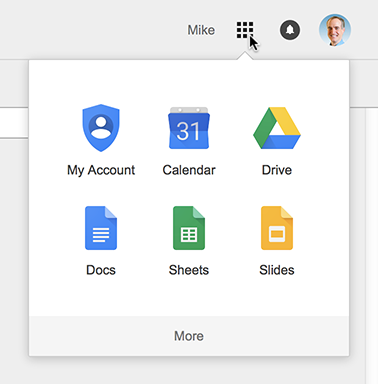
By default, Google Apps will populate that drop-down with a suggested group of products, and by clicking the “More” bar at the bottom:
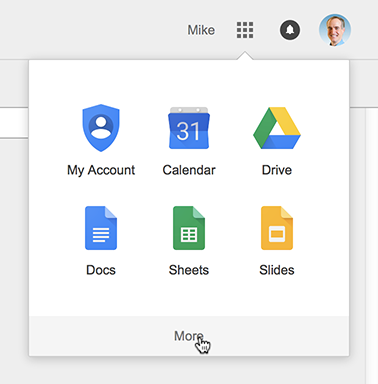
…it allows you to see others:
This is all well and good, but if you’re anything like me you want to customize that drop-down so that only the Apps I’m most likely to use are listed first, without the extra click on the “More” bar. Equally important to me is that the drop-down does not get clogged up with Apps I rarely or never use.
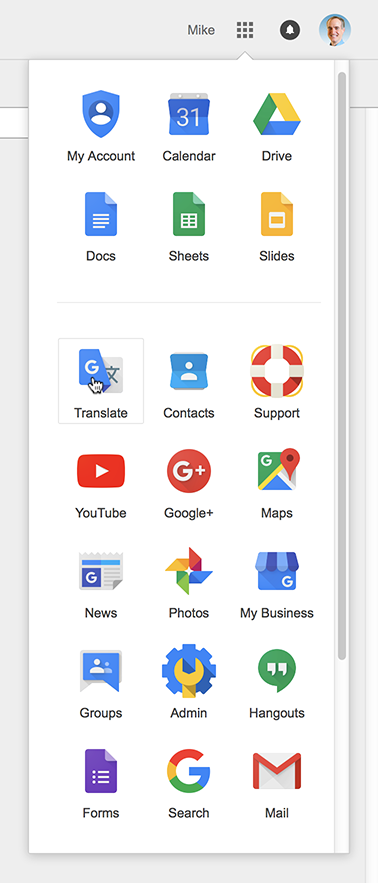
I’ve already customized my menu of Apps, but for the sake of illustrating this tip, let’s imagine I decided to add Google Translate to the main drop-down menu. First, hover the cursor over the Translate icon:
Then, click and hold down your mouse button, while slightly dragging the Translate icon out of position, and then let go of the mouse button to initiate a “move”:
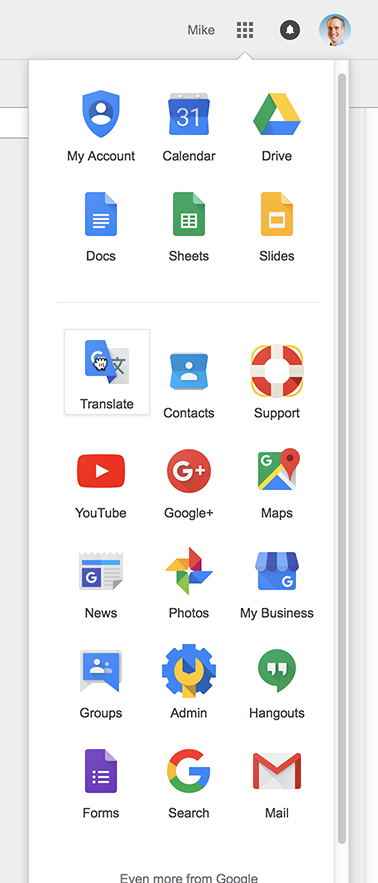
Notice how the “pointer” cursor changed to the “grabbing” cursor. After that, just drag the Translate icon up into the preferred position in the main drop-down menu, and like the icons on a mobile phone, they rearrange themselves around the new addition:

As you can imagine, Google Apps can be added from the “More” area to the main area, the main area to the “More” area, or they can be shuffled around within a single area (again, just like a phone.)
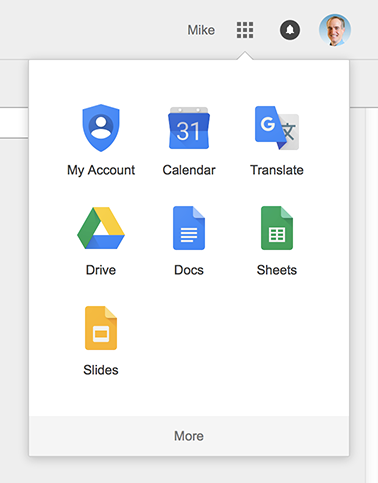
After the above process is complete, click once to “release” the grabbing cursor and the menu will close. When the menu is revisited, the icon of the added Translate app is where it was dragged to:
And one extra tip: if you’ve decided to move an app from the main drop-down area to the “More” area, you don’t have to open the “More” area first. As soon as you start dragging the icon you want to move, the “More” area will open automatically.
About The Author