Your brand is one of your most valuable assets. When multiple people are creating graphics, presentations, and social content, protecting that brand becomes even more important. Canva’s Brand Kit feature (available with a Pro account) helps keep everything consistent and on brand. Here’s how to set one up.
What is a Canva Brand Kit?
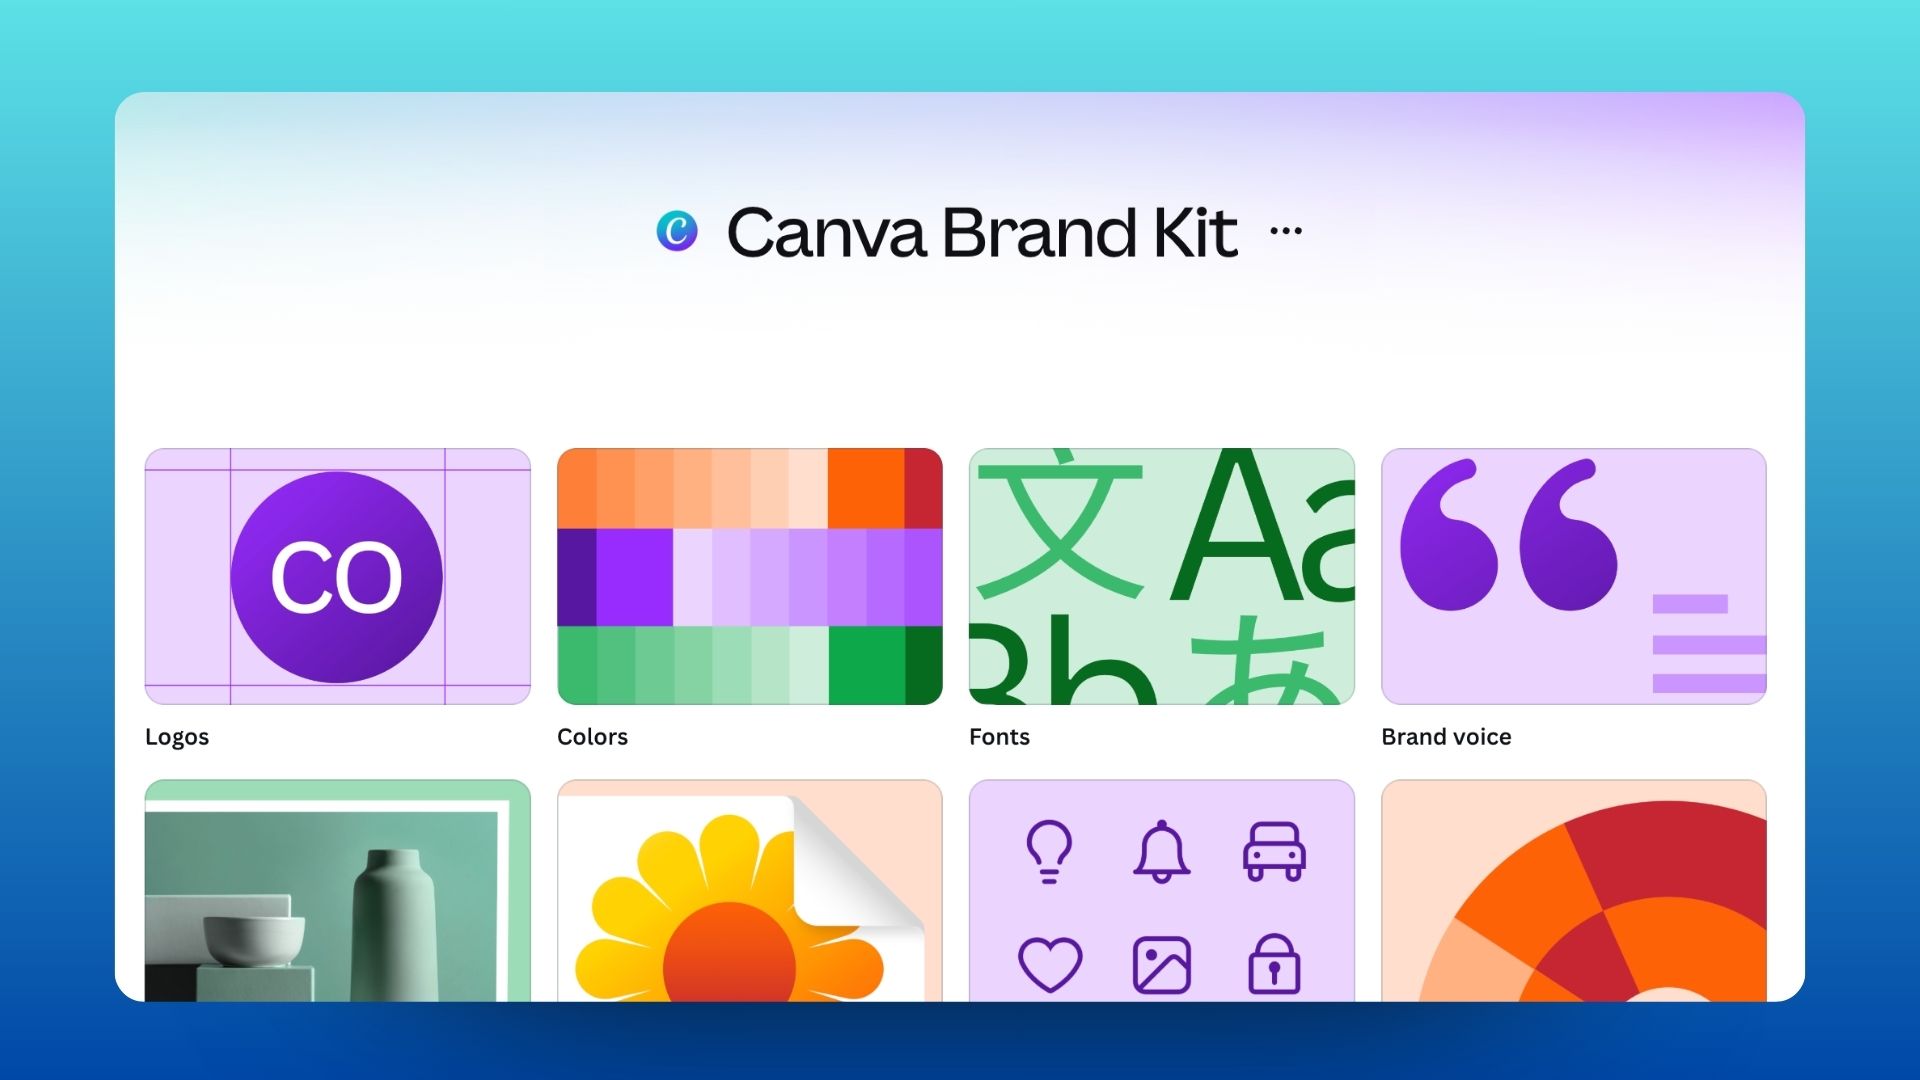
Think of Canva’s Brand Kit as a digital version of your brand guidelines but more dynamic. With a Canva Pro account, you can store your logos, colors, fonts, photos, and other brand assets all in one place. This ensures everyone on your team has easy access to the correct, approved brand elements. Pretty neat, huh?
Set Up Your Brand Kit in Canva 🎨
Watch Our Short Video, Below
Start by locating the Brand Kit tab in the left-hand sidebar. Once inside, you’ll see sections for logos, colors, fonts, and other brand assets. To upload files, you have two options. The quickest method is drag and drop. Simply drag a logo or other asset like an image into Canva and it will automatically upload. You can also click “Add to Category,” then “Upload Asset” to open your file browser and select the correct file you’d like to add. At a minimum, we recommend setting up your logos, colors, and fonts, as shown in the recording above. The additional sections not shown are still very useful and can help reinforce your brand as you create graphics in Canva.
💡Useful Tips
- Colors: Canva will automatically pull in colors from any logos that are uploaded, and pre-populate the colors area as “palettes”. We recommend removing these and instead uploading your colors individually for the most accuracy.
- Fonts: Don’t see your brand’s font in Canva’s dropdown? You can also upload fonts directly to Canva, granted you have the appropriate font permissions to do so.
Common Mistakes to Avoid 🤔
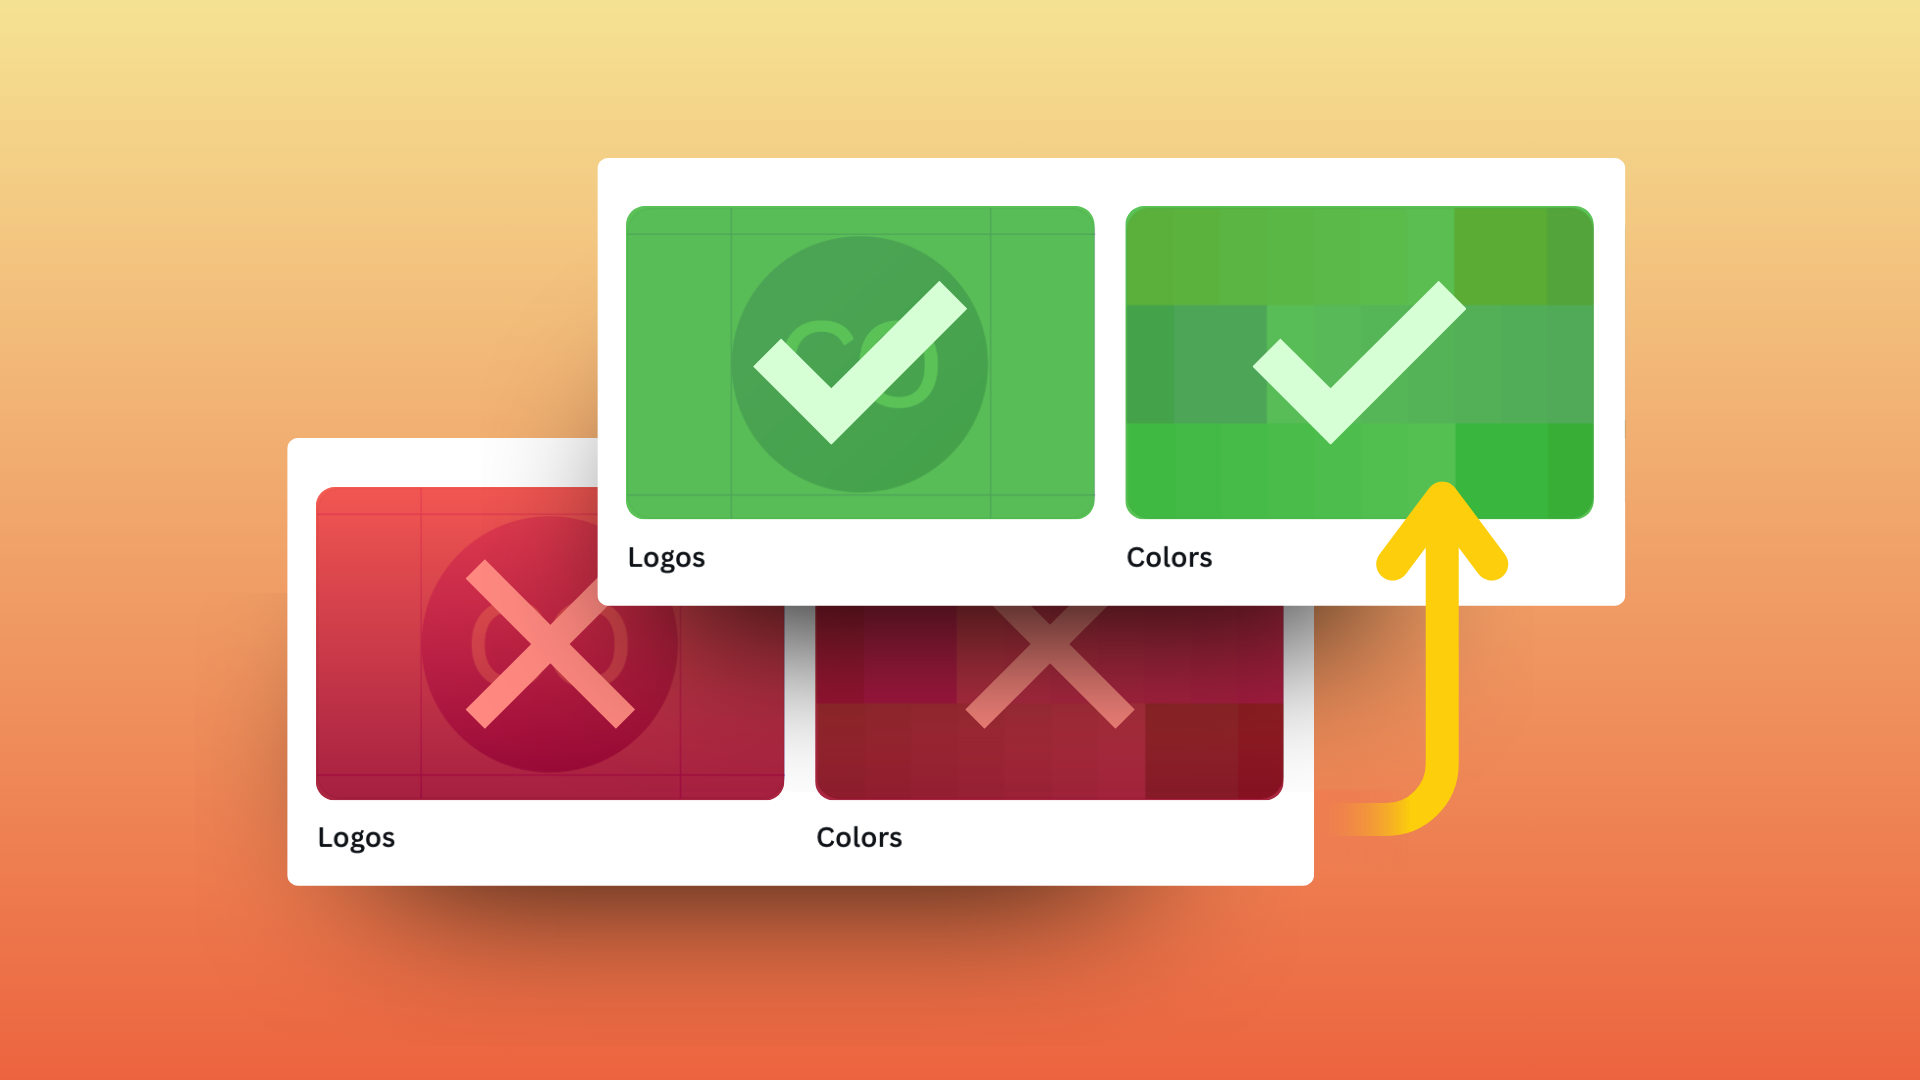
Old logos: Outdated logos can quickly find their way into new materials if they’re still stored in your Brand Kit. Be sure to remove any retired or alternate logo versions that are no longer approved. This helps prevent confusion and ensures that only the correct, current logo files are being used across all Canva designs.
Inconsistent Colors: Slight variations in color can add up and weaken brand recognition over time. Make sure only your approved brand colors are included in the Brand Kit, and avoid adding multiple versions of the same color “just in case.” Consistent color usage is key to building a recognizable and professional brand presence.
Brand Controls: Share Across Teams 🤝
Watch Our Short Video, Below
Who should mange it?: Brand controls let you manage how your brand assets are used within Canva. When color and font restrictions are enabled, team members are limited to your approved selections. You can also enable design approvals and assign a reviewer to add a second set of eyes before anything gets shared. We recommend assigning a single point person, such as a marketing director or brand manager, to oversee and maintain the Brand Kit. This helps ensure updates are made thoughtfully and consistently. If needed, Clockwork is happy to set up your Brand Kit and prepare it for easy handoff to your team! 😄
Keeping it updated: As your brand grows and changes, your Brand Kit should be updated to reflect those changes. Check in on your Brand Kit from time to time to make sure all assets are current. This is especially important after a brand refresh, when adding an anniversary logo, or when updating team headshots.
A Canva Brand Kit doesn’t create your brand but instead it protects it. The stronger your brand foundation, the more effective tools like Canva become. When your logos, colors, and fonts are clearly defined, your team can move faster without sacrificing consistency. If you need help defining, refining, or organizing your brand before setting up Canva, Clockwork is here to help! 💪
Related Posts
How to Use Canva: A Starter Guide
About The Author